1. Introduction
In the realm of cloud computing, Azure stands as a symbol of innovation, offering a plethora of tools and services that empower businesses to transcend limits. This comprehensive guide unveils two cornerstone elements of Azure's universe: Azure Container Instances and Databases. Embark on a journey to understand their essence, applications, and harness the power they bring to the digital landscape.
2. Purpose
This guide is more than just a collection of information; it's a roadmap to equip you with the tools that drive transformation. As we delve into the world of Azure Container Instances and Databases, you'll gain insights that empower you to architect solutions that redefine efficiency, scalability, and innovation within the cloud ecosystem.
3. What are Azure Container Instances and Databases?
Azure Container Instances offer lightweight, portable, and serverless containers, allowing you to run applications in isolated environments. Databases, on the other hand, are repositories that store, manage, and deliver data, powering applications, insights, and informed decisions.
4. Creating Azure VM and DB with Azure Console
- Launch your web browser and navigate to Azure Portal.
- Sign in using your Azure account credentials.
- Click "Create a resource" and search for "Container Instance."
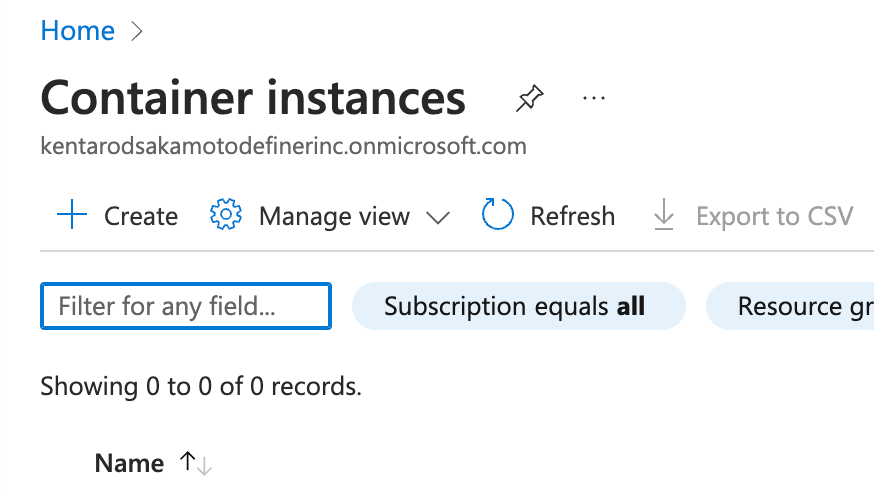
- Choose your preferred container image source, whether it's Azure Container Registry, Docker Hub, or others.
- Configure container settings:
- Define a unique name and choose the region.
- Select CPU and memory resources to match your application's needs.
- Specify network settings, including virtual networks and IP addresses.
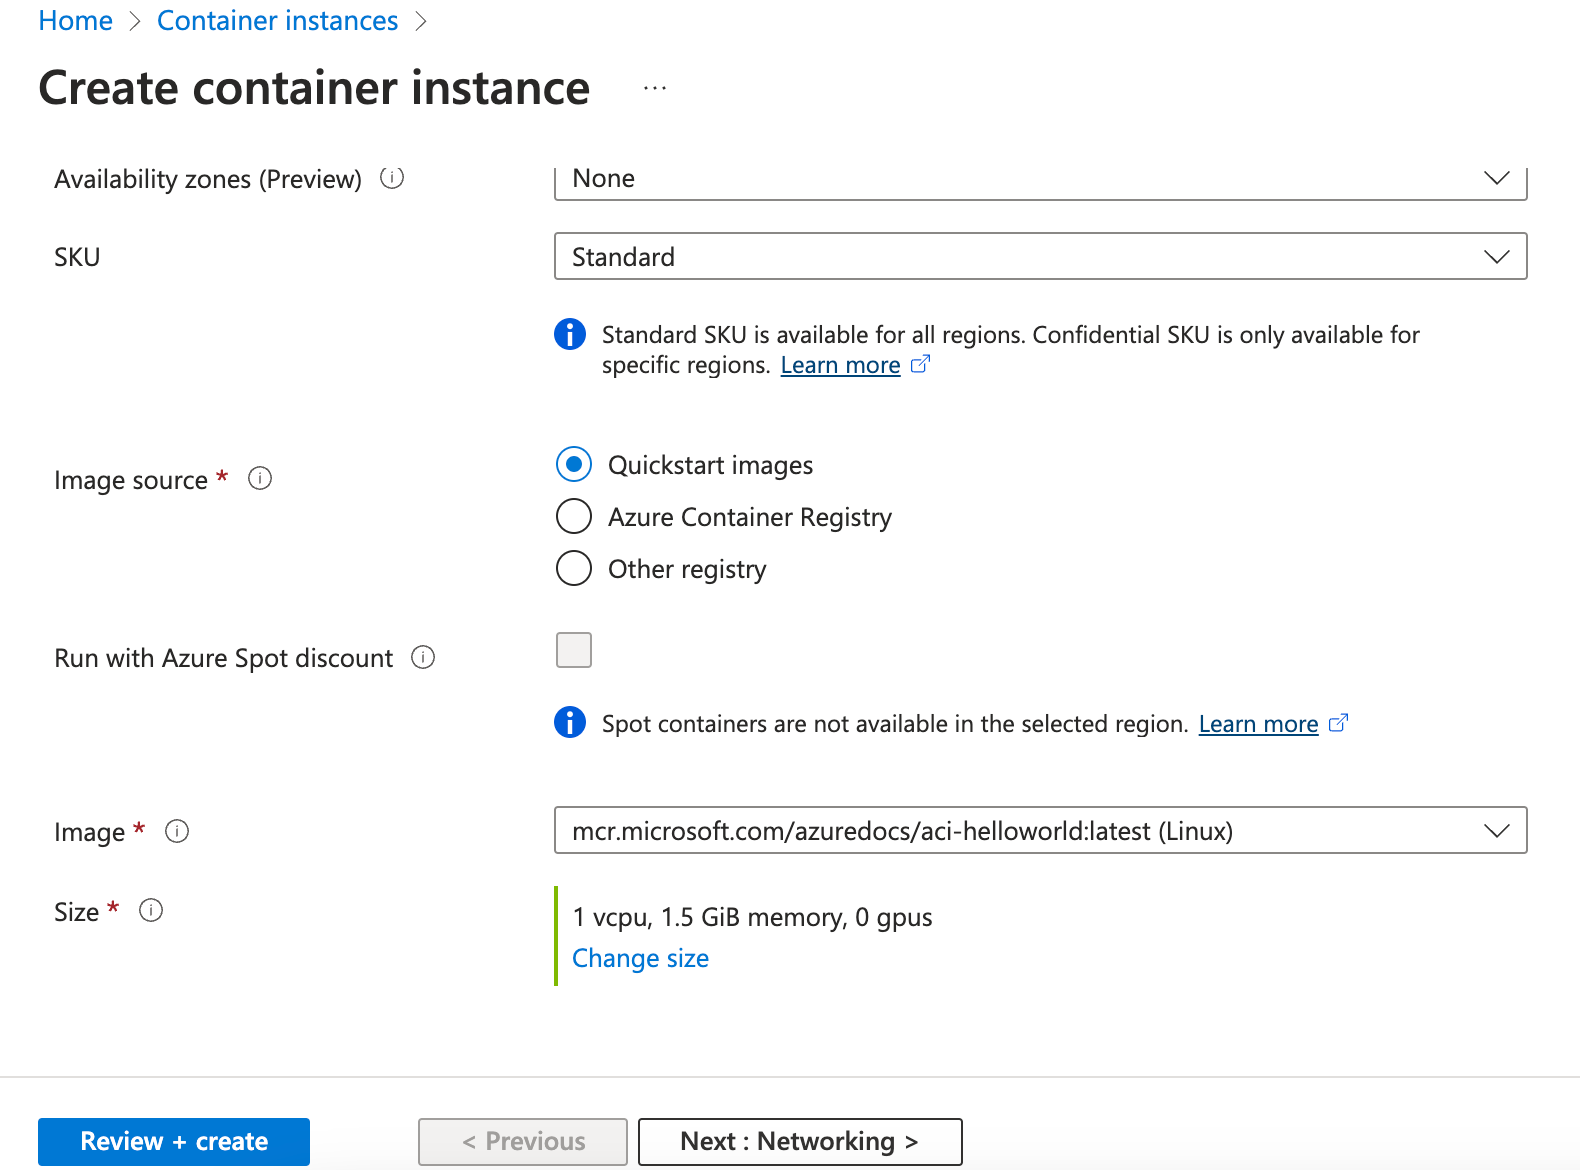
- Review your settings and initiate the creation process.
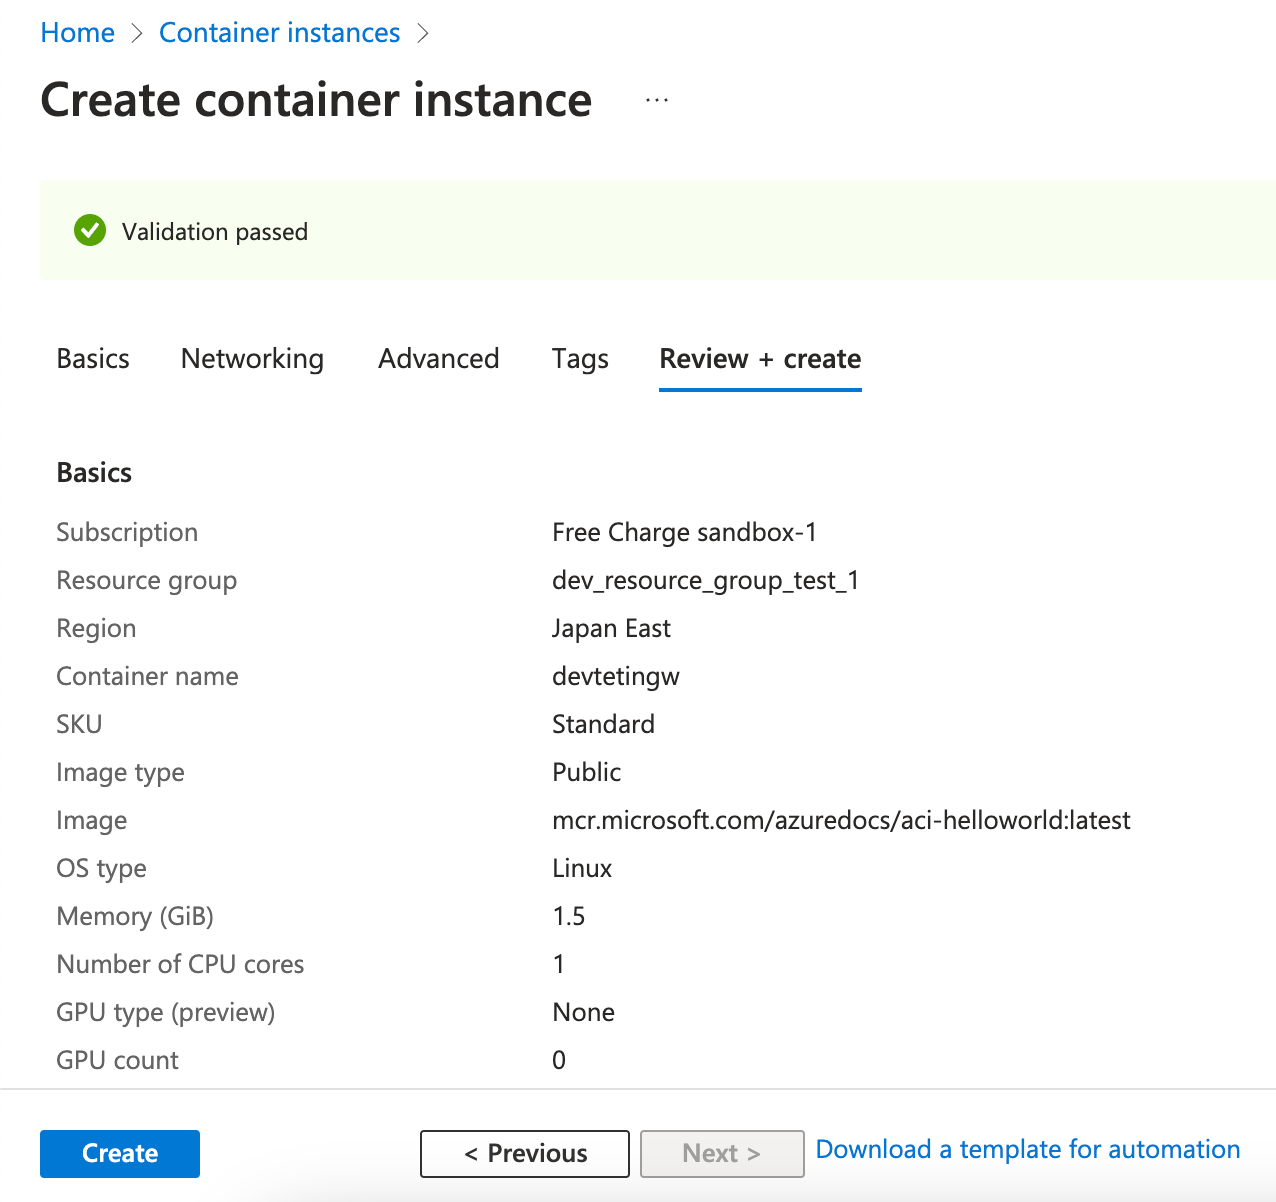 Accessing and Managing Azure Container Instance:
- Once the Container Instance is created, find it in the Azure Portal.
- Access instance logs, status, and performance metrics for effective monitoring.
- Utilize Azure's monitoring and alerting capabilities for proactive management.
- Click "Create a resource" and search for the desired database type (e.g., MySQL, PostgreSQL, Cosmos DB).
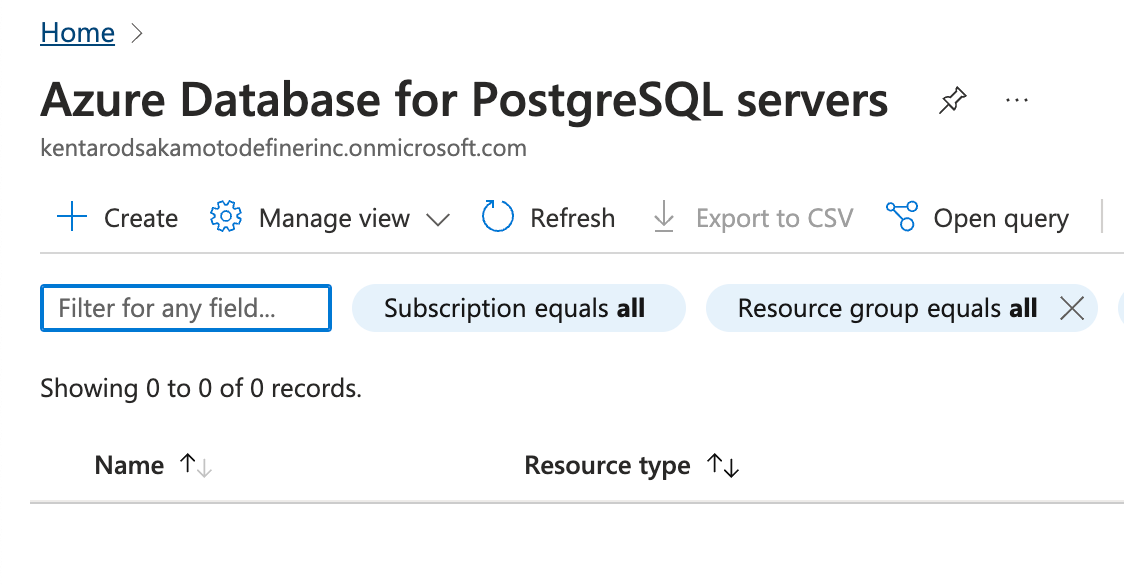
- Choose the appropriate database type and click "Create."
- Configure the database settings:
- Define a unique server name and credentials.
- Set resource group and location.
- Configure networking and security settings.
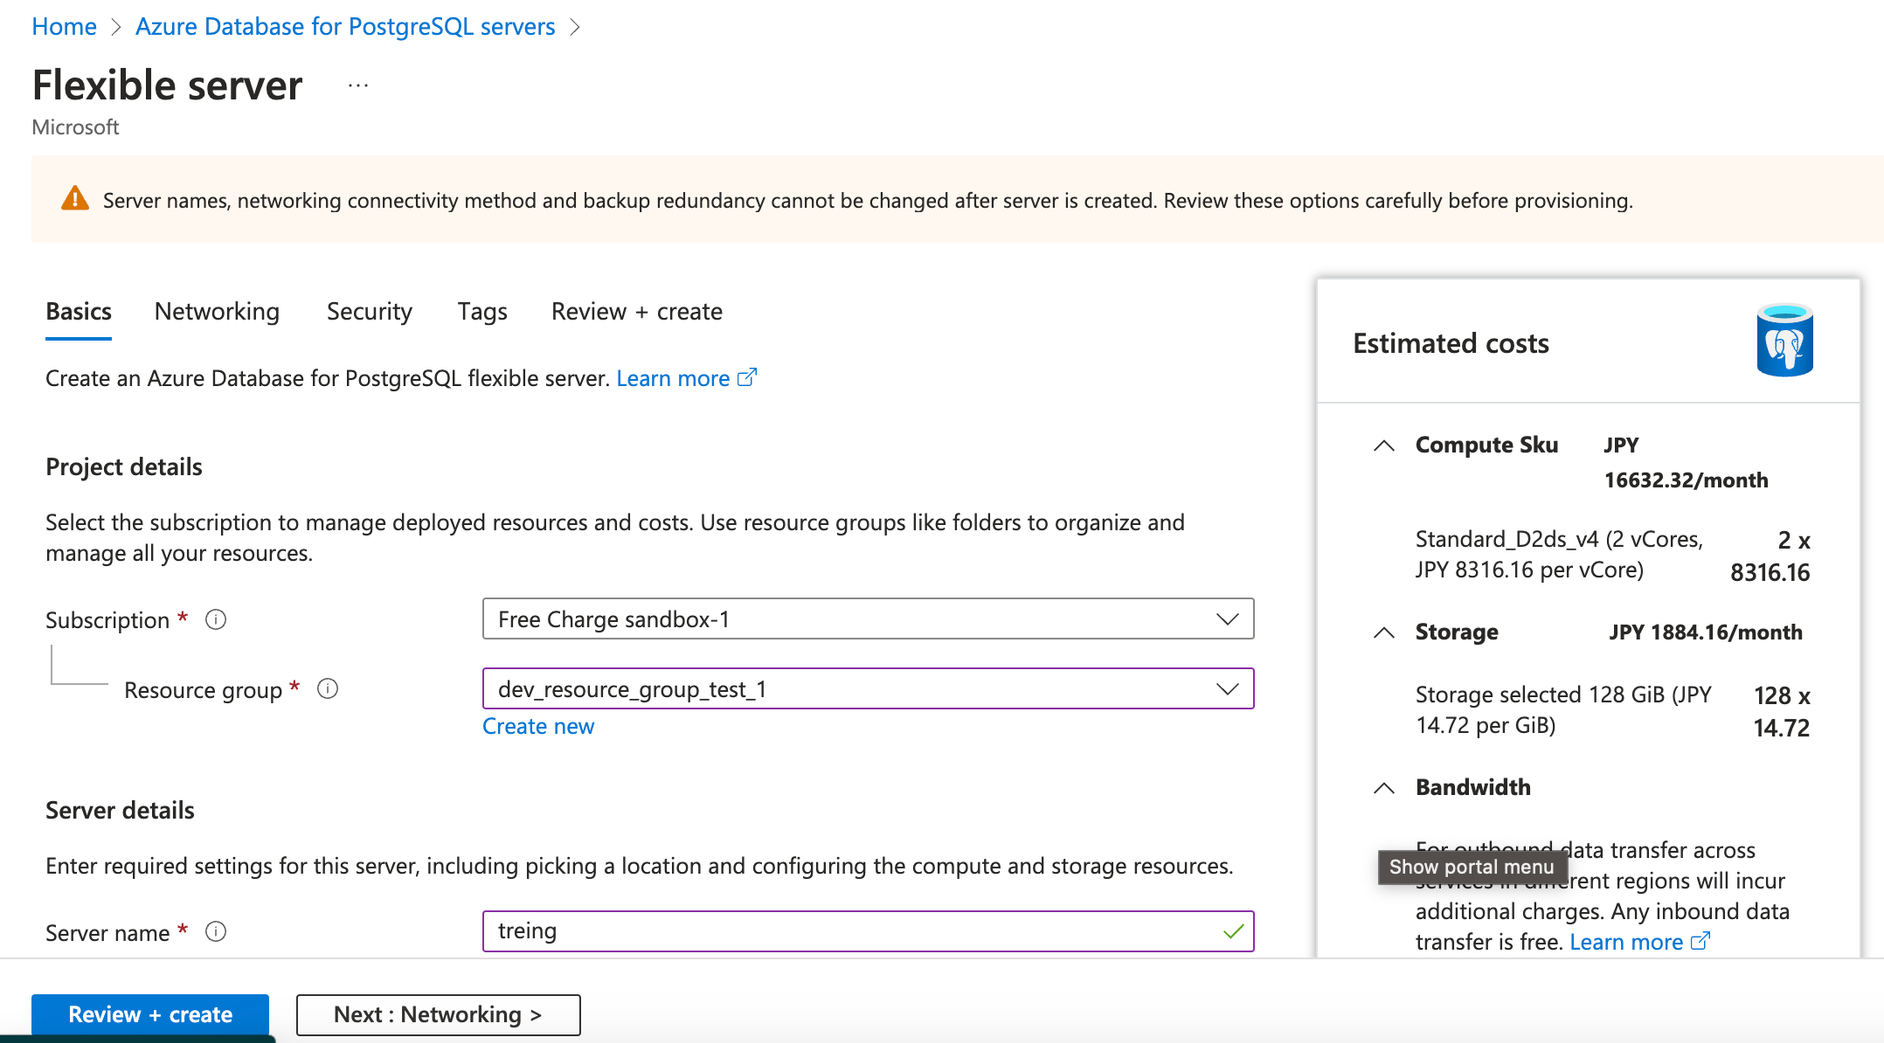
- Review and create the database.
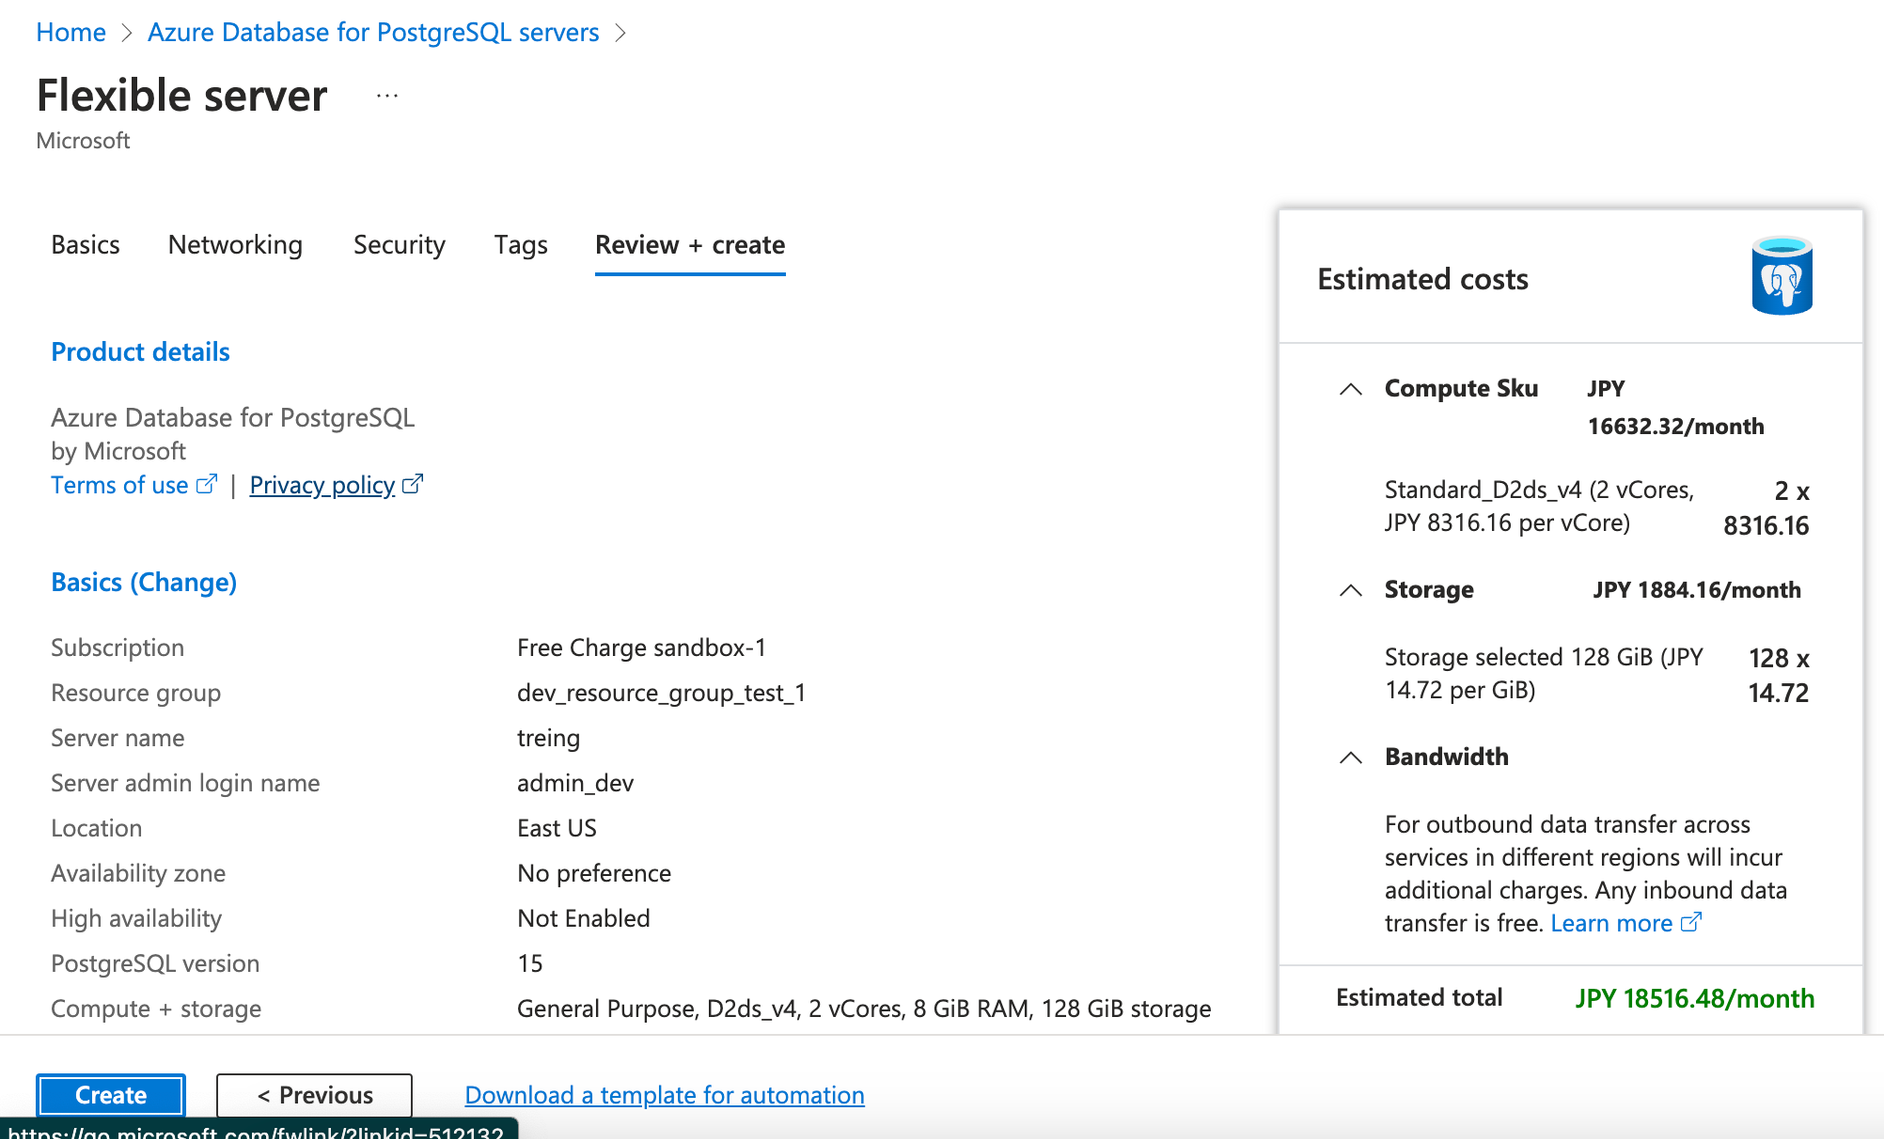 Access Azure Database:
- After database creation, go to its resource page.
- Access database-specific tools or connection strings provided in the portal.
5. Creating Azure VM and DB with PrismScaler
- Login to your prismscaler account
- Choose Container Instance architecture to create
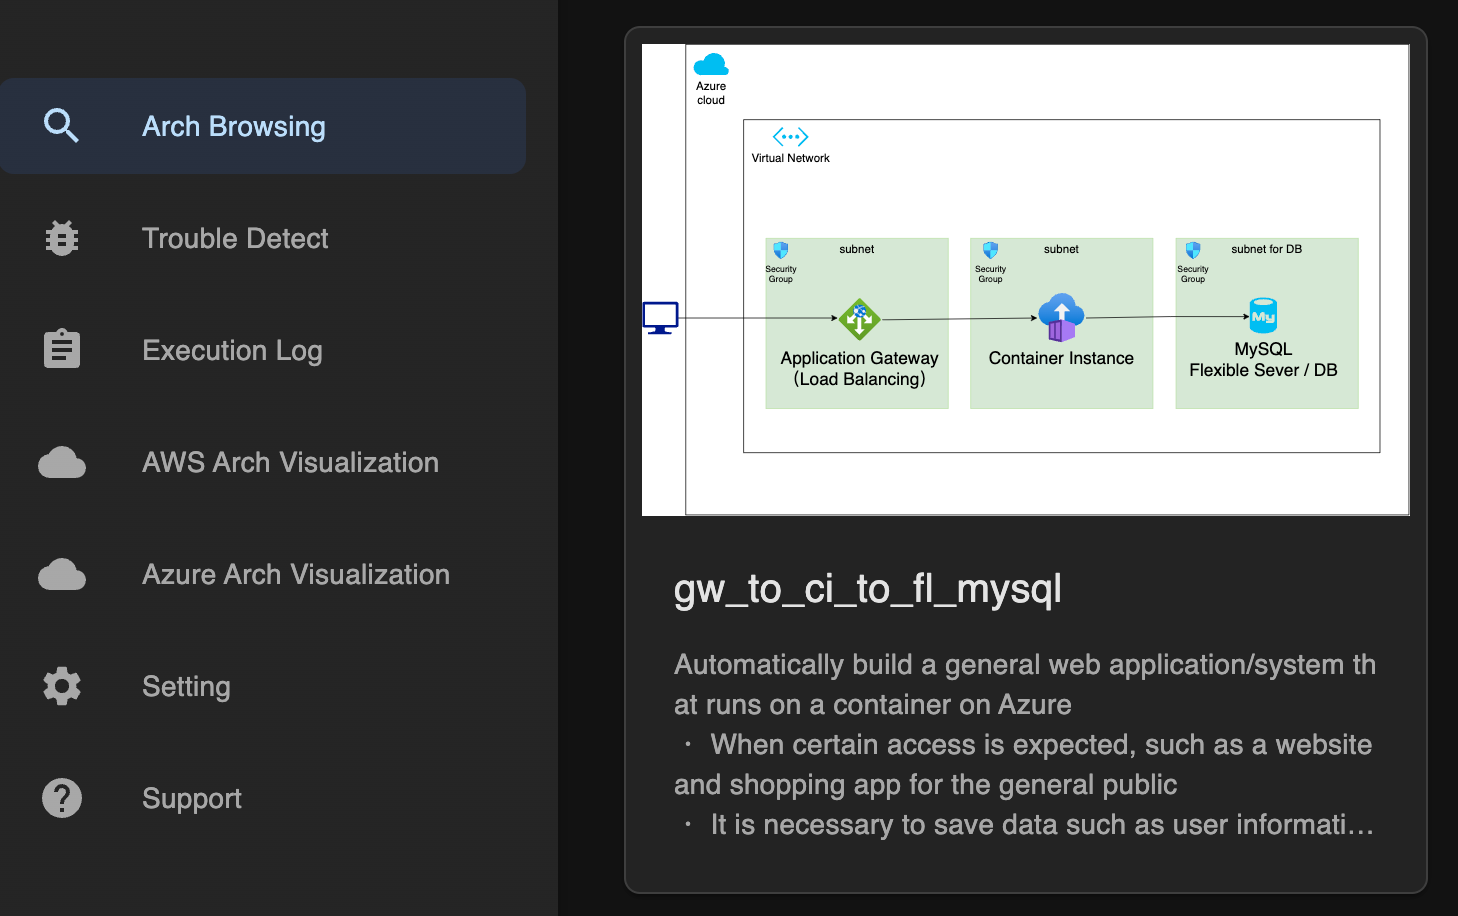
- Input all the necessary info
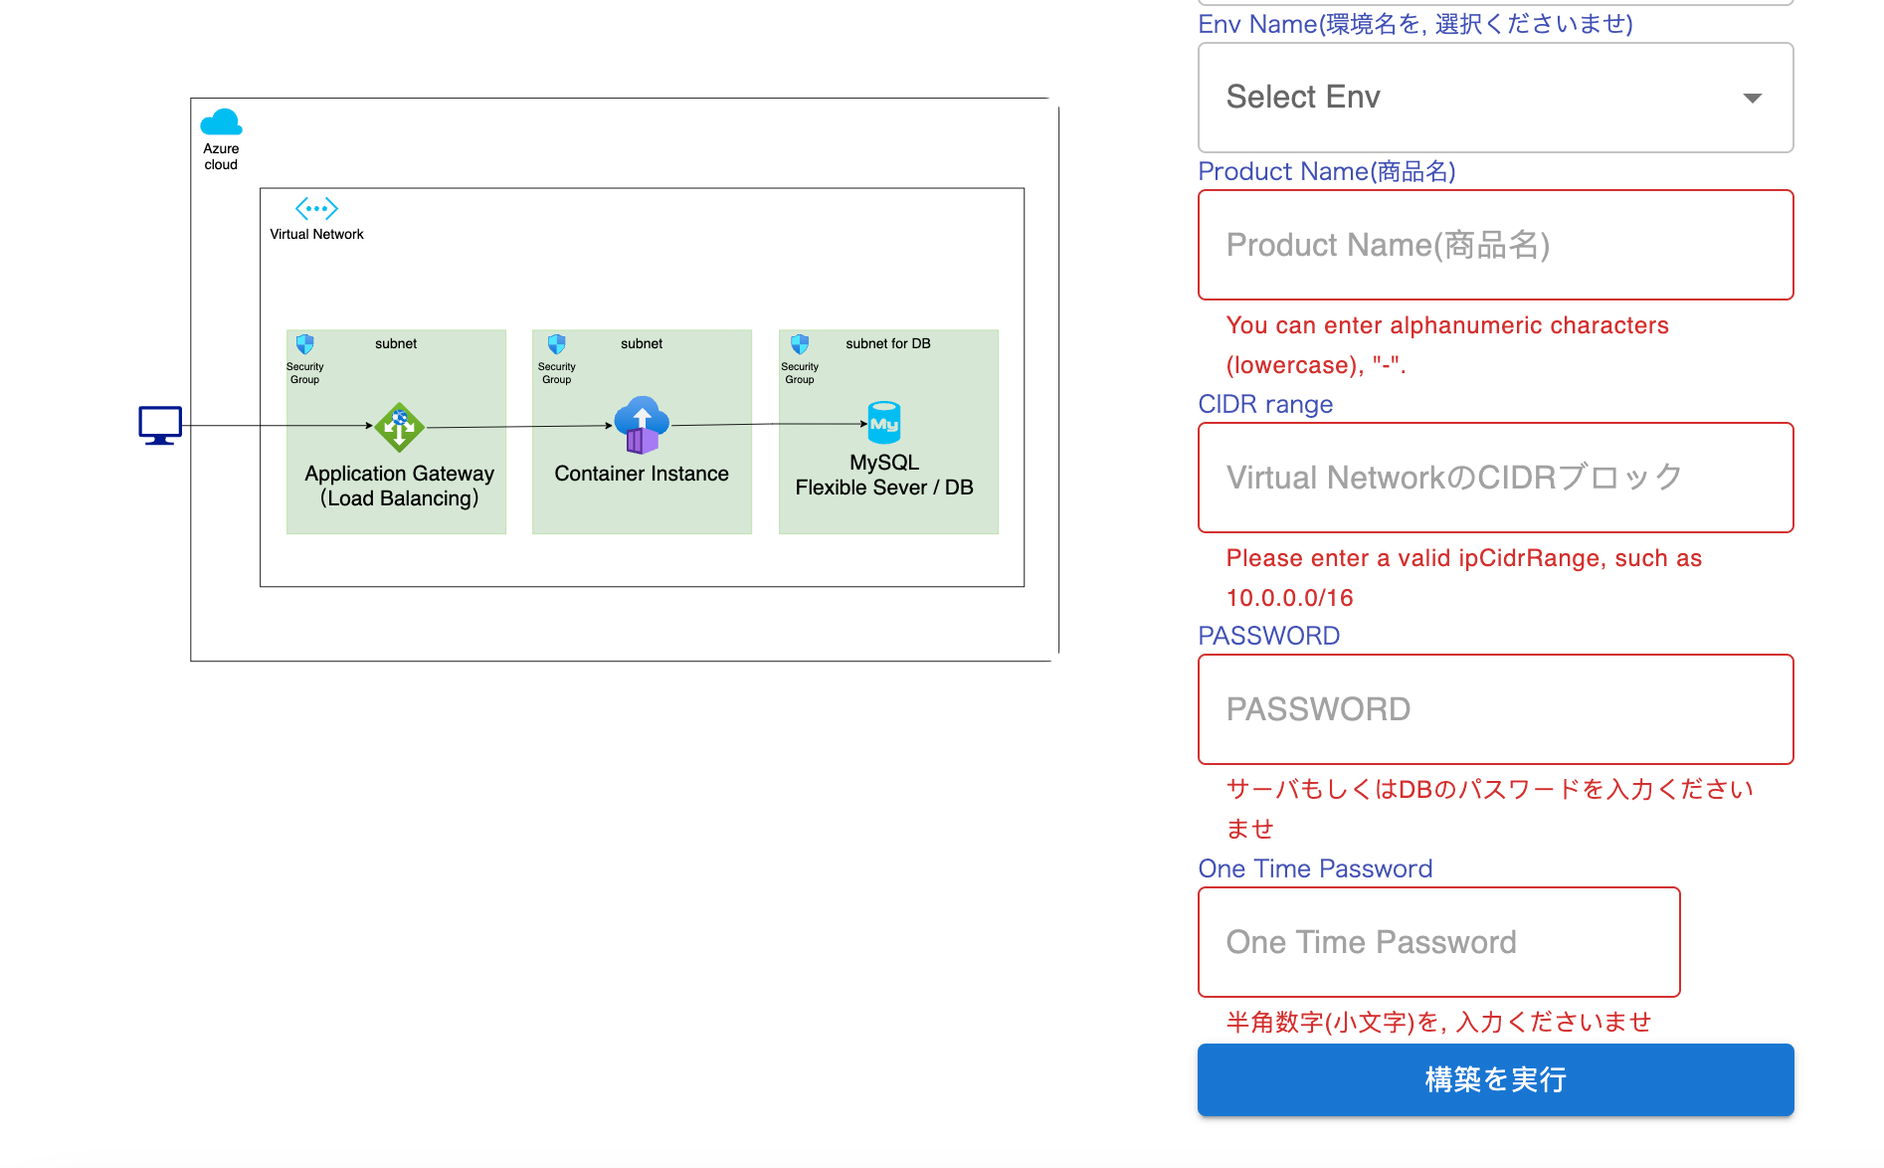
- Process and wait around 20-30 mins for the arch to deploy
- Check azure console to complete the architecture.
