1. Introduction
In the realm of cloud innovation, Azure stands as a testament to its power. In this guide, we unveil a gem within Azure's offerings: Static Websites with Azure Blob Storage. As the digital landscape evolves, simplicity and efficiency reign supreme. This guide delves into the art of transforming Azure Blob Storage into a dynamic platform for hosting static websites, driving home the beauty of uncomplicated solutions.
2. Purpose
This journey isn't just about acquiring knowledge; it's about harnessing the power of simplicity. As we explore Static Websites with Azure Blob Storage, you'll realize that even in a complex digital world, elegance and ease can drive impactful solutions. Whether you're a seasoned DevOps expert or a novice, this guide empowers you to deploy websites effortlessly and amplify their reach.
3. What is Static Websites with Azure Blob Storage?
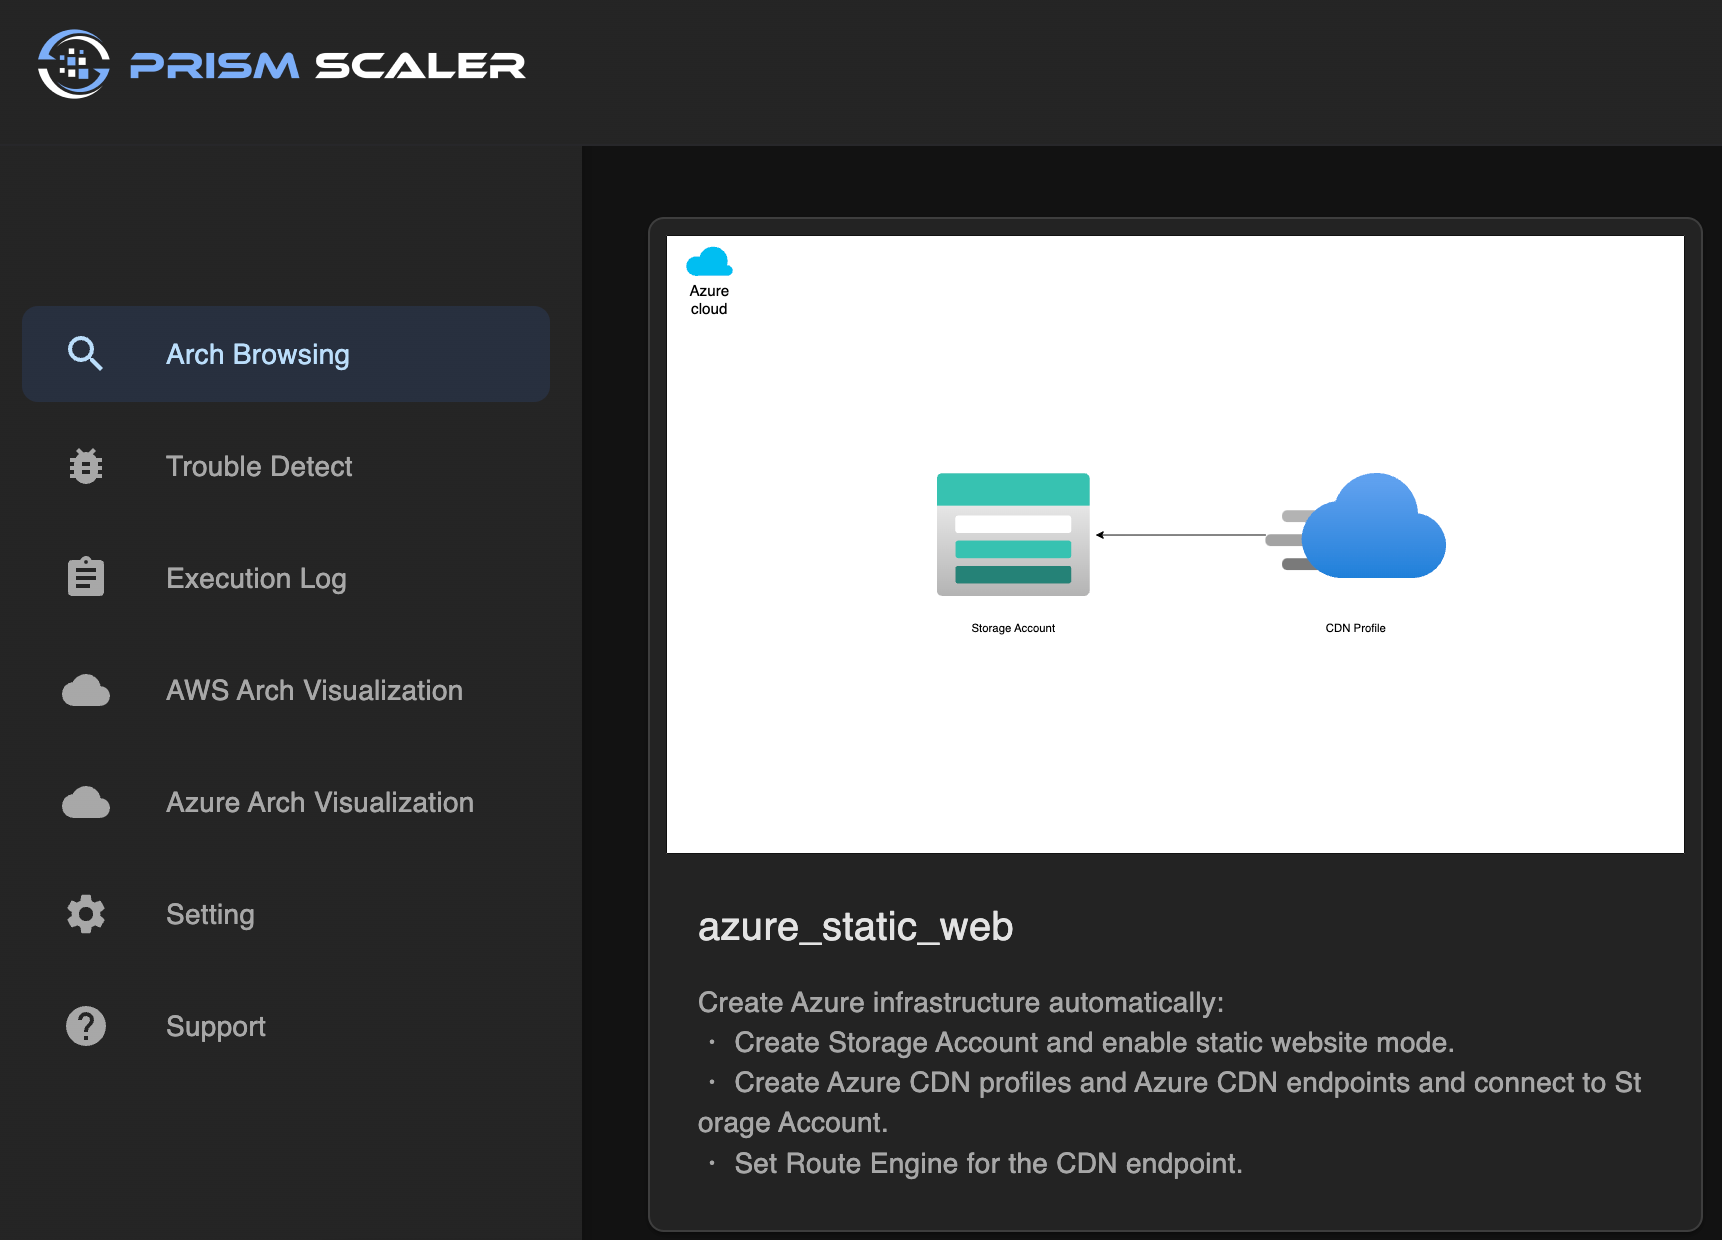
Static Websites with Azure Blob Storage is a groundbreaking way to host and distribute static web content, such as HTML, CSS, JavaScript, and media files. By leveraging Azure Blob Storage's innate scalability and performance, you transform it into a nimble platform for serving web content, bypassing the need for complex server setups.
4. Creating Azure blob storage as static web with Azure console
Estimated time
This section guides readers through the step-by-step process of setting up Azure Blob Storage to host a static website using the Azure Console.
The content may include detailed instructions, screenshots, or code snippets to assist readers in the configuration process.
The estimated time to complete this setup is 4-6 hours, assuming the reader has a certain level of DevOps knowledge.
Azure Blob Storage's transformation into a dynamic platform for hosting static websites is a process that seamlessly marries simplicity with efficiency. This section provides a detailed walkthrough of how to achieve this through the Azure Console, empowering you to unlock the potential of Static Websites with Azure Blob Storage.
Accessing Azure Portal:
 Enabling Static Website Hosting:
 Uploading Web Content:
 Accessing the Static Website:
 Custom Domain Configuration (Optional):
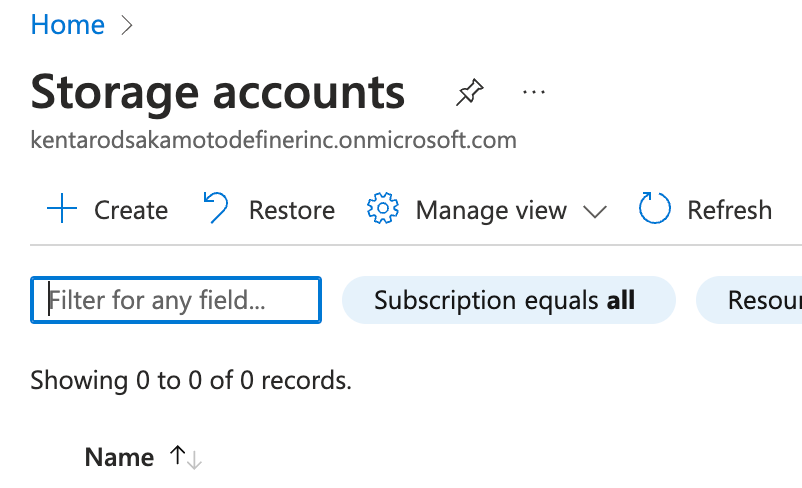
- Open your web browser and navigate to Azure Portal.
- Sign in using your Azure account credentials.
- Click "Create a resource" and search for "Storage account."
- Choose a unique name for your storage account and select the appropriate settings for your deployment region, performance, and replication options.
- Review and confirm your configurations before initiating the creation process.
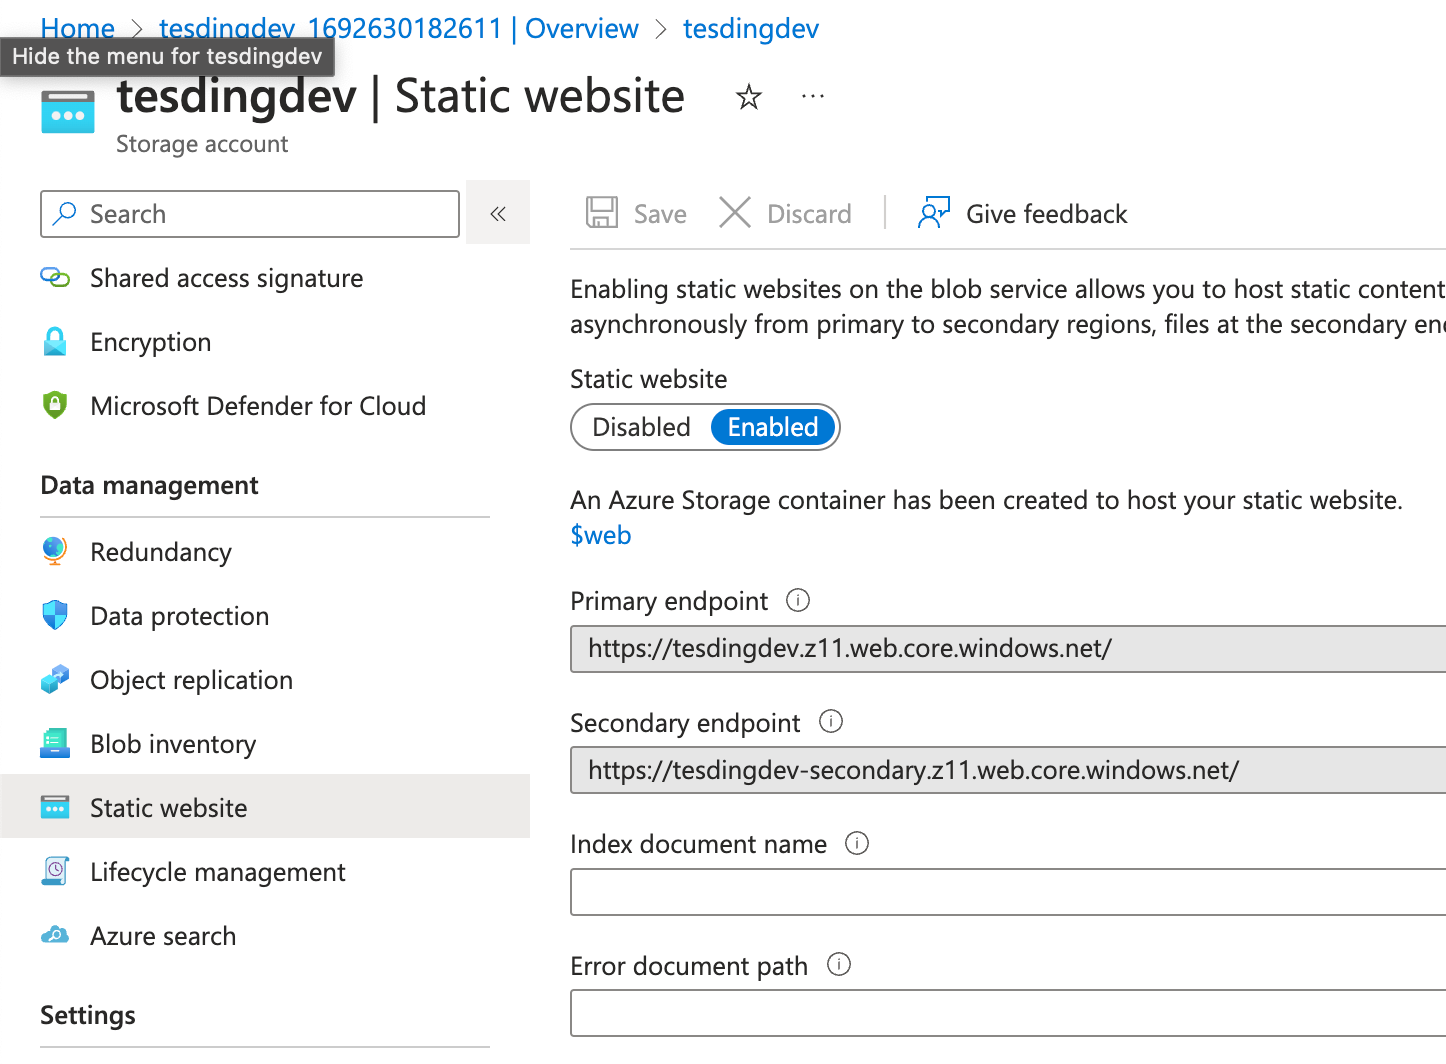
Enabling Static Website Hosting:
- Once your storage account is created, locate it in the Azure Portal.
- Navigate to the "Static website" section in the left-hand menu.
- Enable static website hosting and define the default document name (e.g., "index.html").
- Set up error document handling if desired.
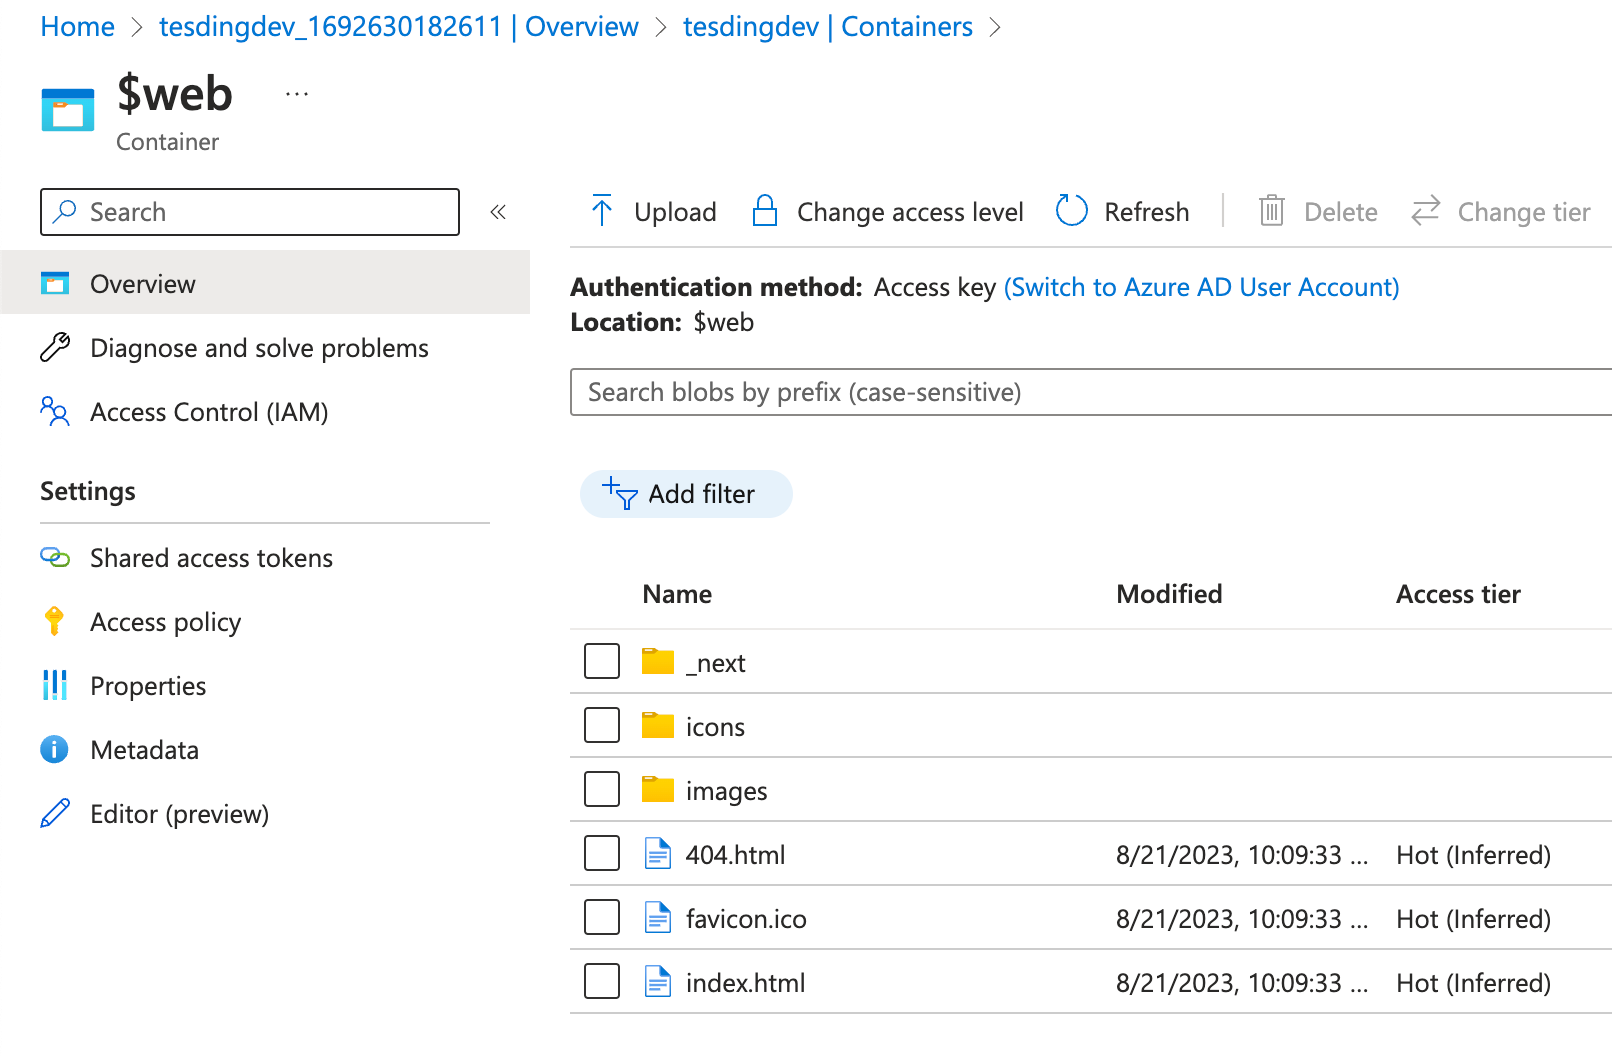
Uploading Web Content:
- Access the "Containers" section within your storage account.
- Create a new container for your website's content (e.g., "webcontent").
- Upload your HTML, CSS, JavaScript, and media files to this container.
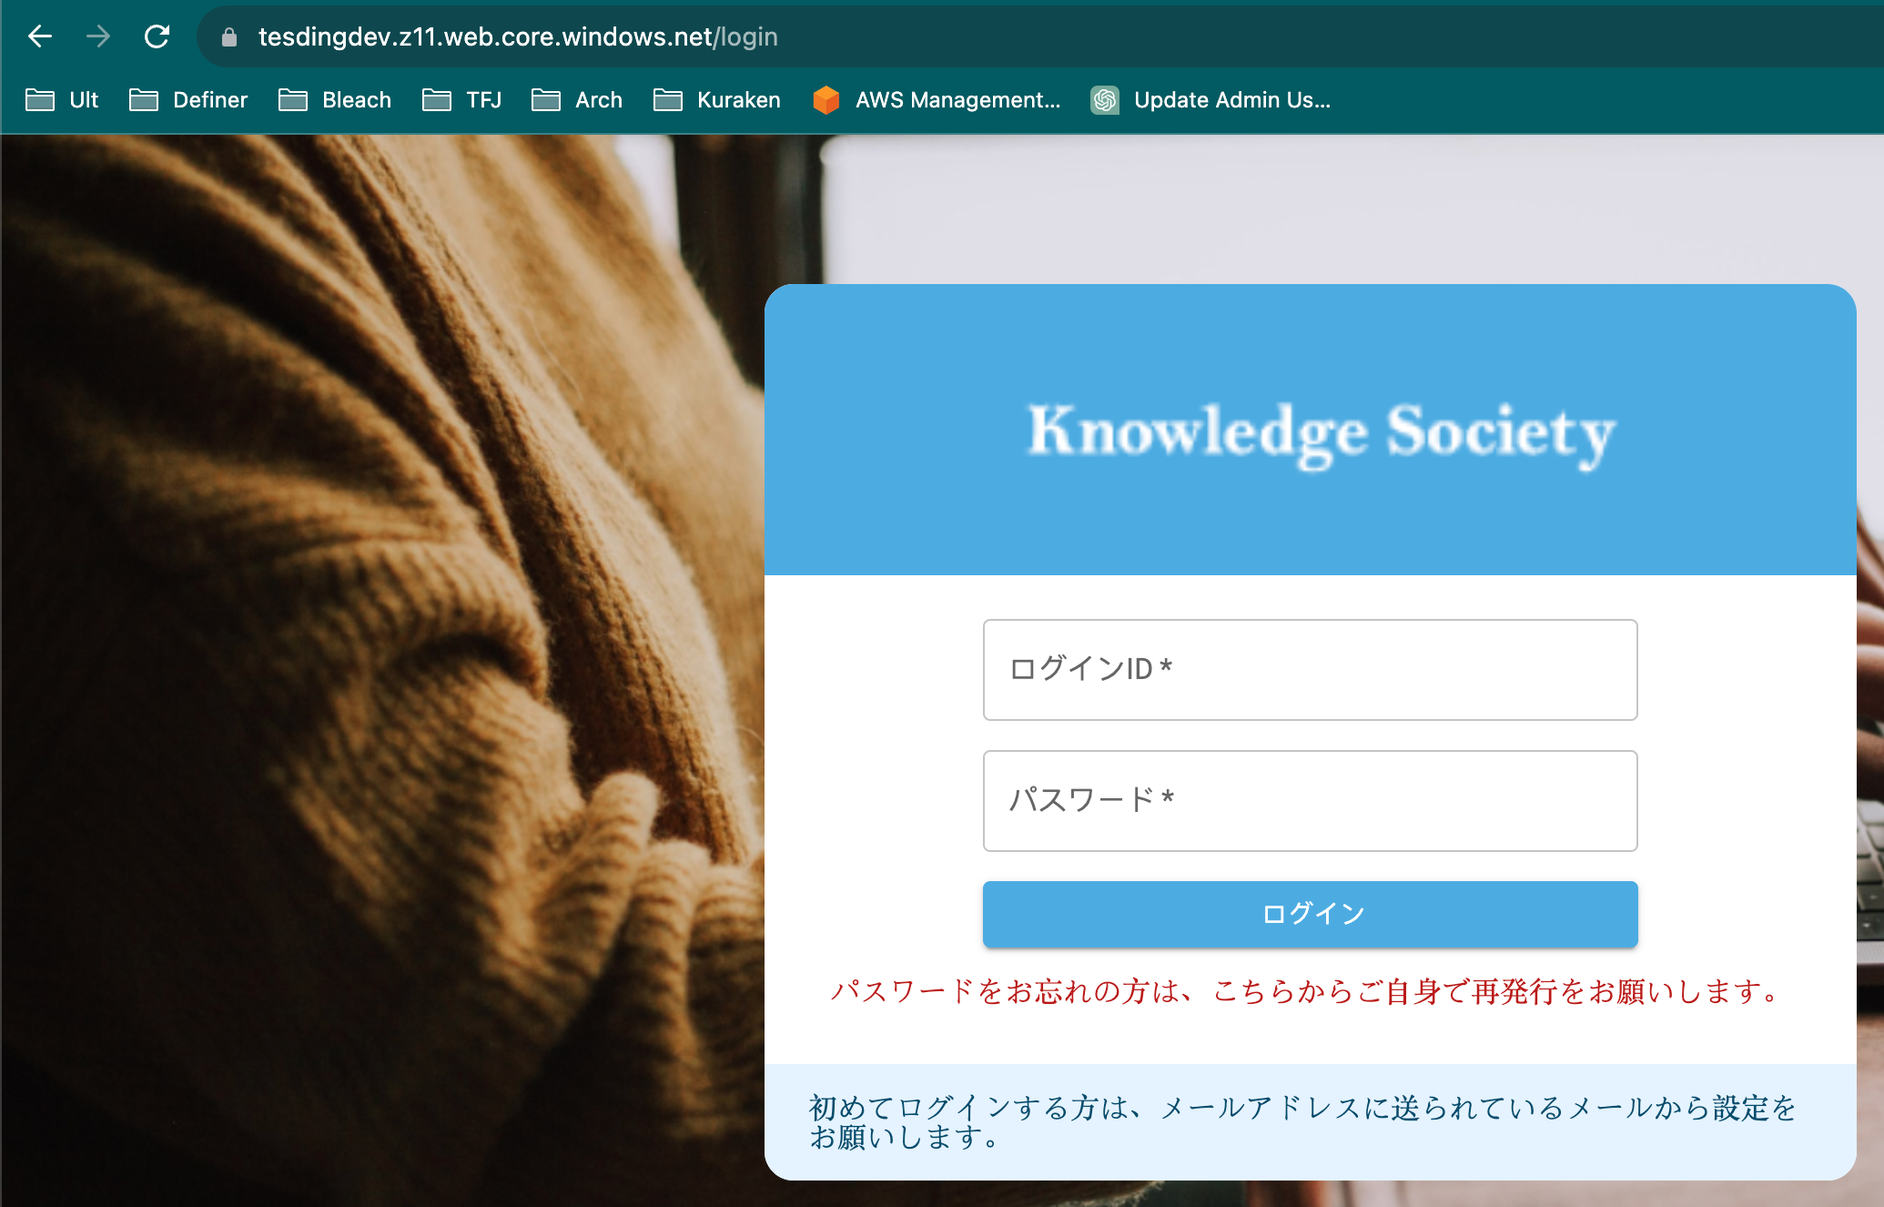
Accessing the Static Website:
- In the "Static website" section of your storage account, note down the primary endpoint URL.
- Paste this URL into your web browser to access your static website.
Custom Domain Configuration (Optional):
- If you want to use a custom domain for your static website, you can configure a custom domain using Azure's CDN or a DNS provider.
- Utilize Azure's monitoring tools to track your static website's performance and user interactions.
- Explore analytics to gain insights into user behavior and content consumption.
5. Creating Azure blob storage as static web with prismscaler
Estimated time
This section introduces an alternative approach to creating a static website with Azure Blob Storage, using Prismscaler instead of the Azure Console.
It explains the benefits of using Prismscaler for this purpose and provides a straightforward setup process.
The estimated time to complete this setup is significantly shorter, at 10 minutes, and it doesn't require DevOps knowledge.
Creating Azure blob storage as static web with prismscaler
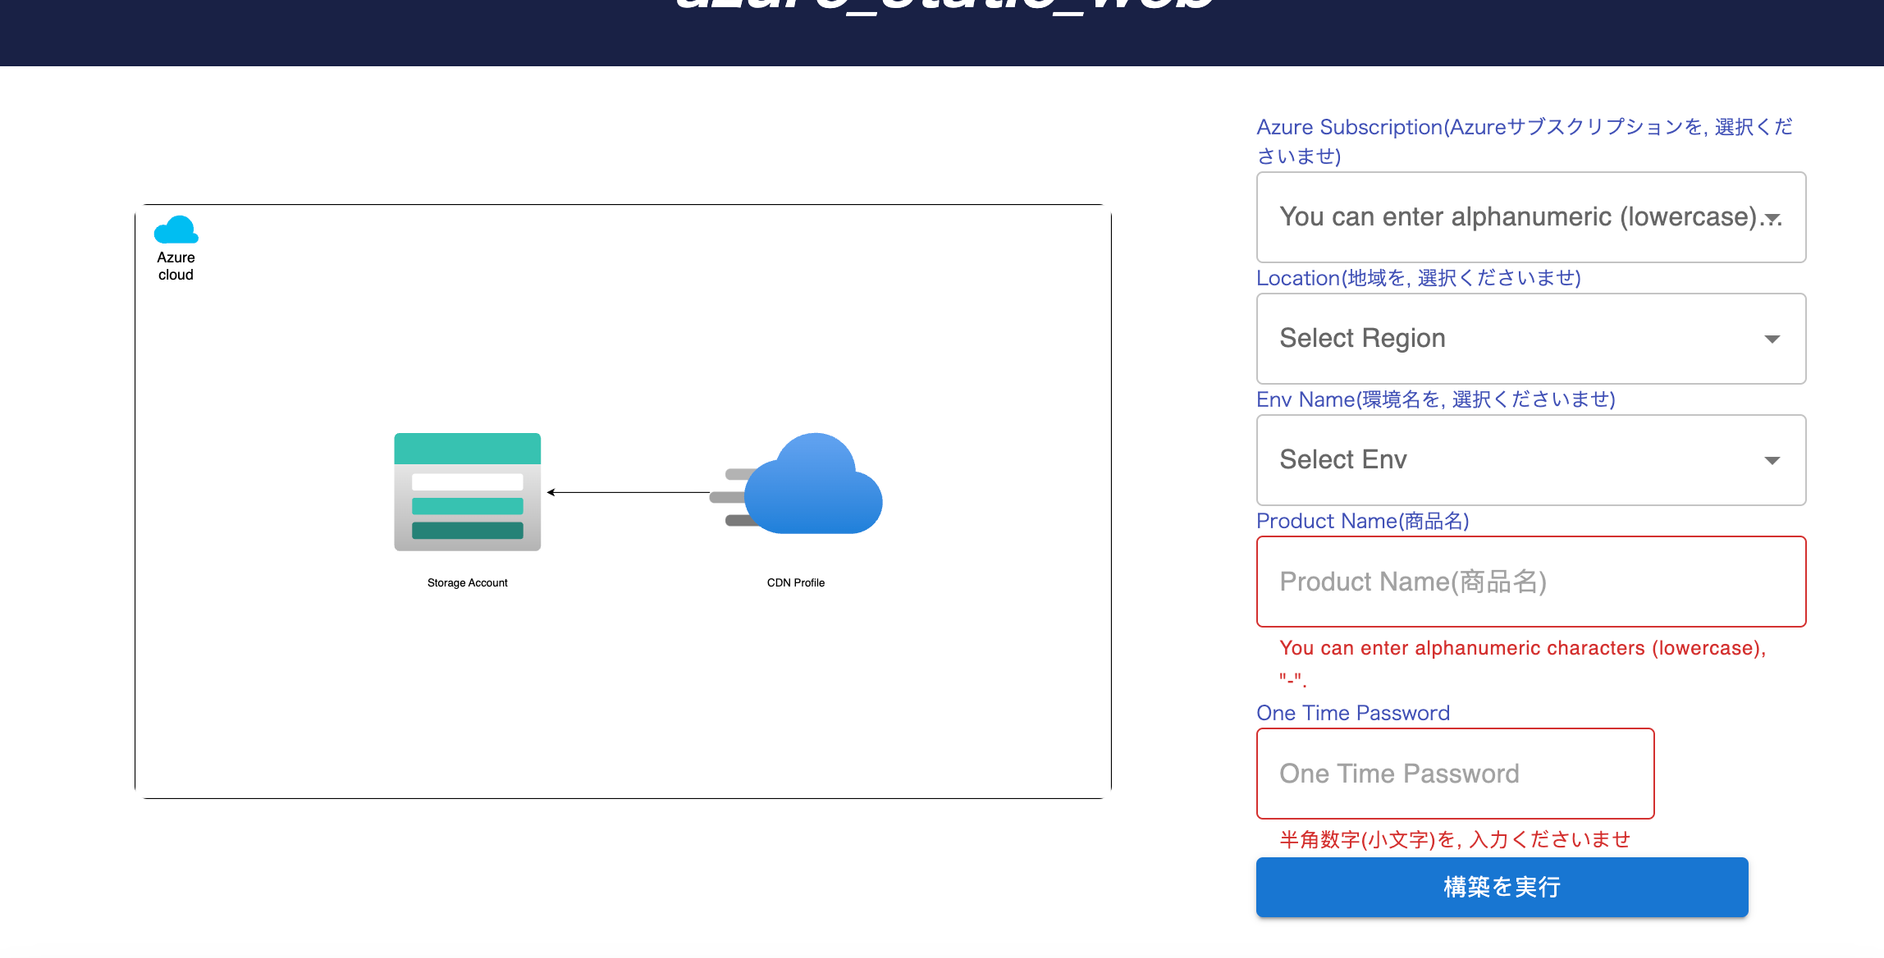
- Login to your prismscaler account
- Choose VM architecture to create
- Input all the necessary info
- Process and wait around 10 mins for the arch to deploy
- Check azure console to complete the architecture.
6. Storage policy
In the dynamic landscape of cloud-based content delivery, Storage Policies within Azure Blob Storage emerge as the architects of data efficiency, security, and accessibility. This section delves deep into the intricacies of Storage Policies, empowering you to orchestrate your data management strategy and optimize content delivery for unparalleled user experiences.
Optimizing content delivery is a cornerstone of Storage Policies. Here's how you can elevate your content delivery strategy:
Content Replication:
Leverage replication options like Locally Redundant Storage (LRS) for redundancy within the same region or Geo-Redundant Storage (GRS) for data replication to a secondary region.
Choose the replication strategy that ensures data availability and recovery in the face of potential outages.
Storage Tiers:
Utilize storage tiers such as Hot and Cool to segregate frequently accessed data from archival data.
By assigning data to appropriate tiers, you optimize costs while maintaining fast access to active data.
Data Lifecycles:
Implement data lifecycle policies that automatically transition data between different storage tiers or delete data when it's no longer needed.
This approach reduces management overhead and ensures data is stored cost-effectively.
Access Control:
Employ shared access signatures (SAS) to grant time-limited access to specific resources.
Implement role-based access control (RBAC) to manage permissions at a more granular level.
Content Delivery Network (CDN) Integration:
Combine Storage Policies with Azure CDN to enhance content delivery globally.
Distribute content through CDN nodes strategically placed around the world for improved latency and faster loading times.
7. Reference
Your journey is amplified by a comprehensive reference section. Here, you'll find a curated collection of external resources, official documentation, and enlightening blogs. This treasure trove serves as your compass to delve deeper into the Azure universe, where simplicity transforms into powerful solutions.