1. Introduction
In the dynamic world of cloud computing, Azure emerges as a powerful force, offering an array of tools and services to redefine how businesses operate. In this comprehensive guide, we unlock the doors to two pivotal elements of Azure's realm: Azure Container Instances and Storage. Embark on a journey that unravels their essence, applications, and the potential they hold within the digital landscape.
2. Purpose
This guide transcends being a mere collection of facts; it's a roadmap that equips you with the tools to drive transformation. As we delve into Azure Container Instances and Storage, you're armed with insights to architect solutions that redefine efficiency, scalability, and innovation within the cloud ecosystem.
3. What are Azure Container Instances and Storage?
Azure Container Instances provide a nimble, serverless platform for running containers. Storage, on the other hand, is the foundation for housing data, enabling applications and analytics to thrive. Together, they forge the backbone of your cloud-based solutions.
4. Creating Azure Container Instances and Storage with Azure Console
Estimated time
Unlock the full potential of Azure by crafting Container Instances and Storage using the Azure Console. This section takes you on a meticulous journey, empowering you to orchestrate the deployment of resources that fuel your solutions. DevOps veterans might take 4-6 hours to master this process, while newcomers to the cloud environment may invest 2-3 days to grasp the intricacies.
Azure Container Instances and Storage are the bedrock of modern cloud solutions, driving agility, scalability, and data management. In this section, we delve into the meticulous process of creating these resources using the Azure Console, ensuring you're well-equipped to wield their power, regardless of your DevOps proficiency.
Accessing Azure Portal:
Launch your web browser and navigate to Azure Portal.
Sign in using your Azure account credentials.
Creating Azure Container Instance:
Click "Create a resource" and search for "Container Instance."
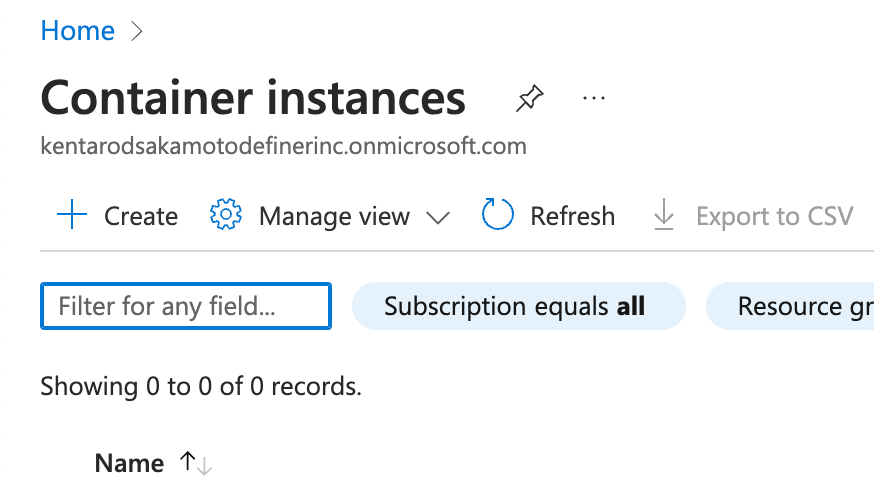
 Accessing and Managing Azure Container Instance:
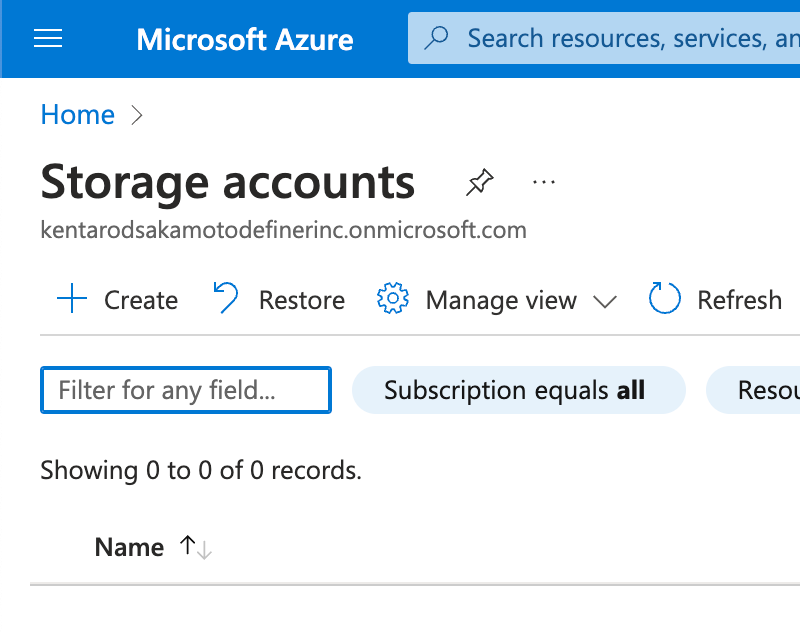
 Access Azure Storage:

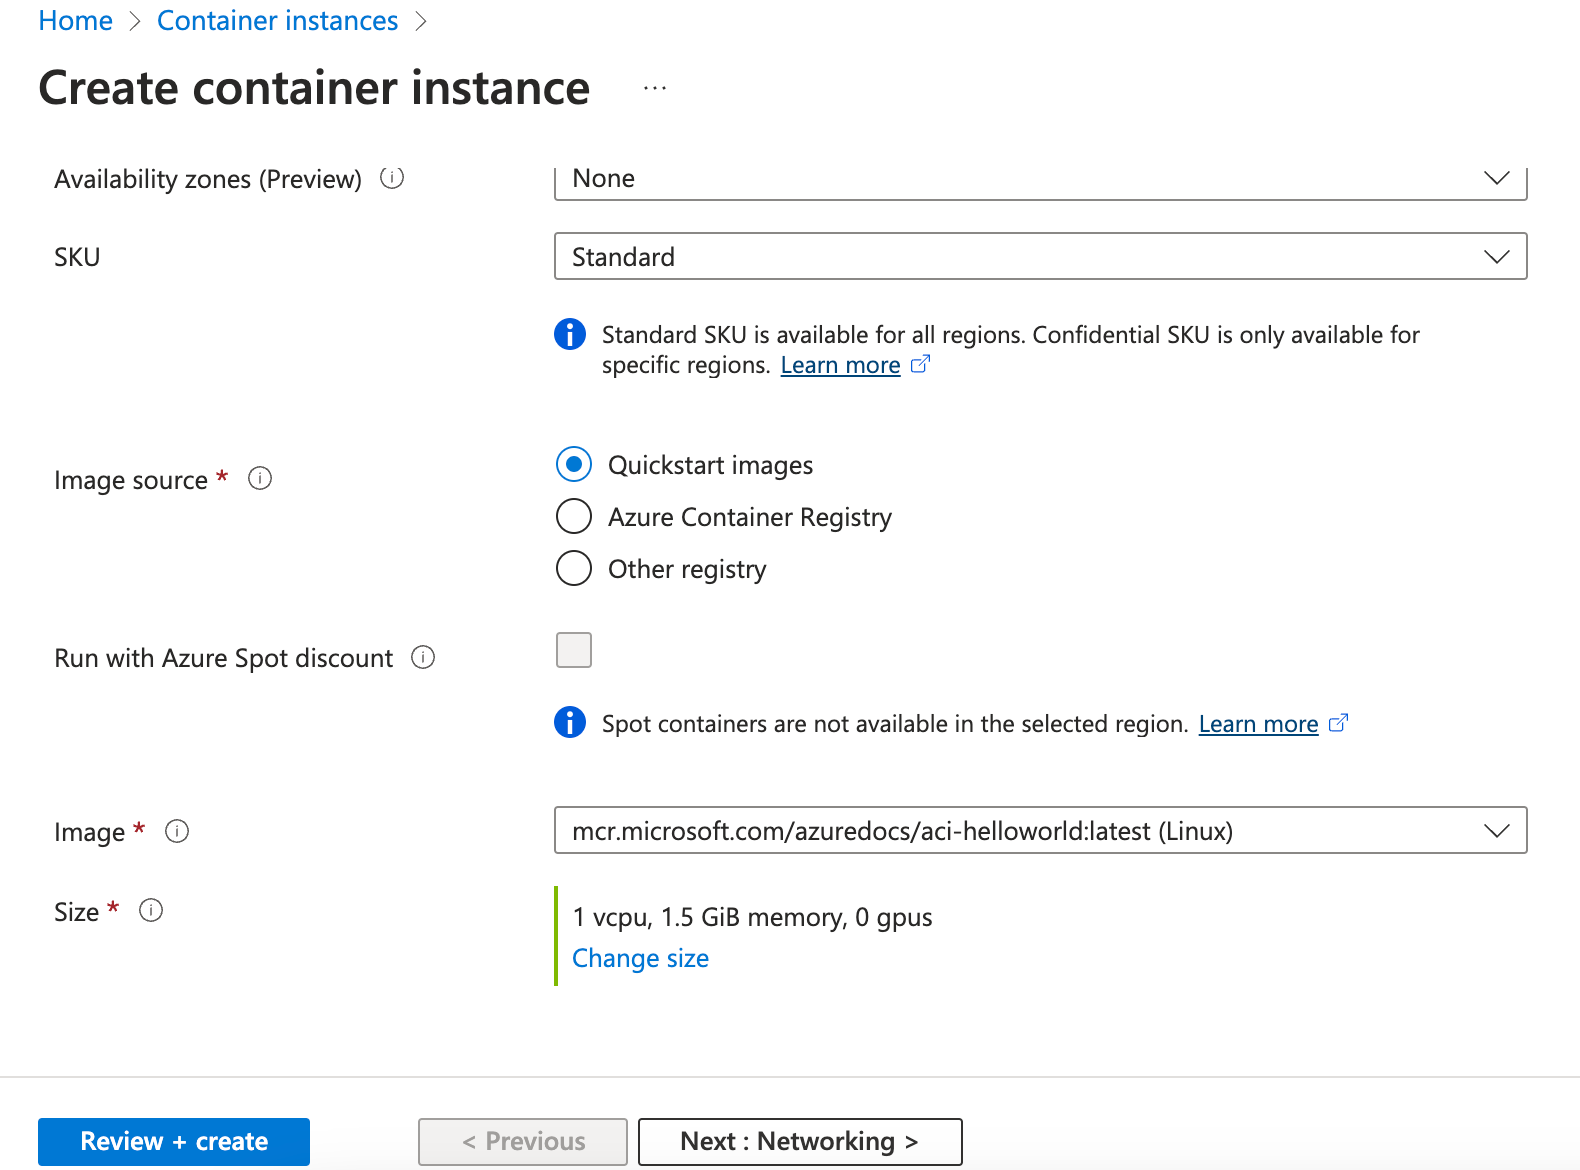
- Choose your preferred container image source, whether it's Azure Container Registry, Docker Hub, or others.
- Configure container settings:
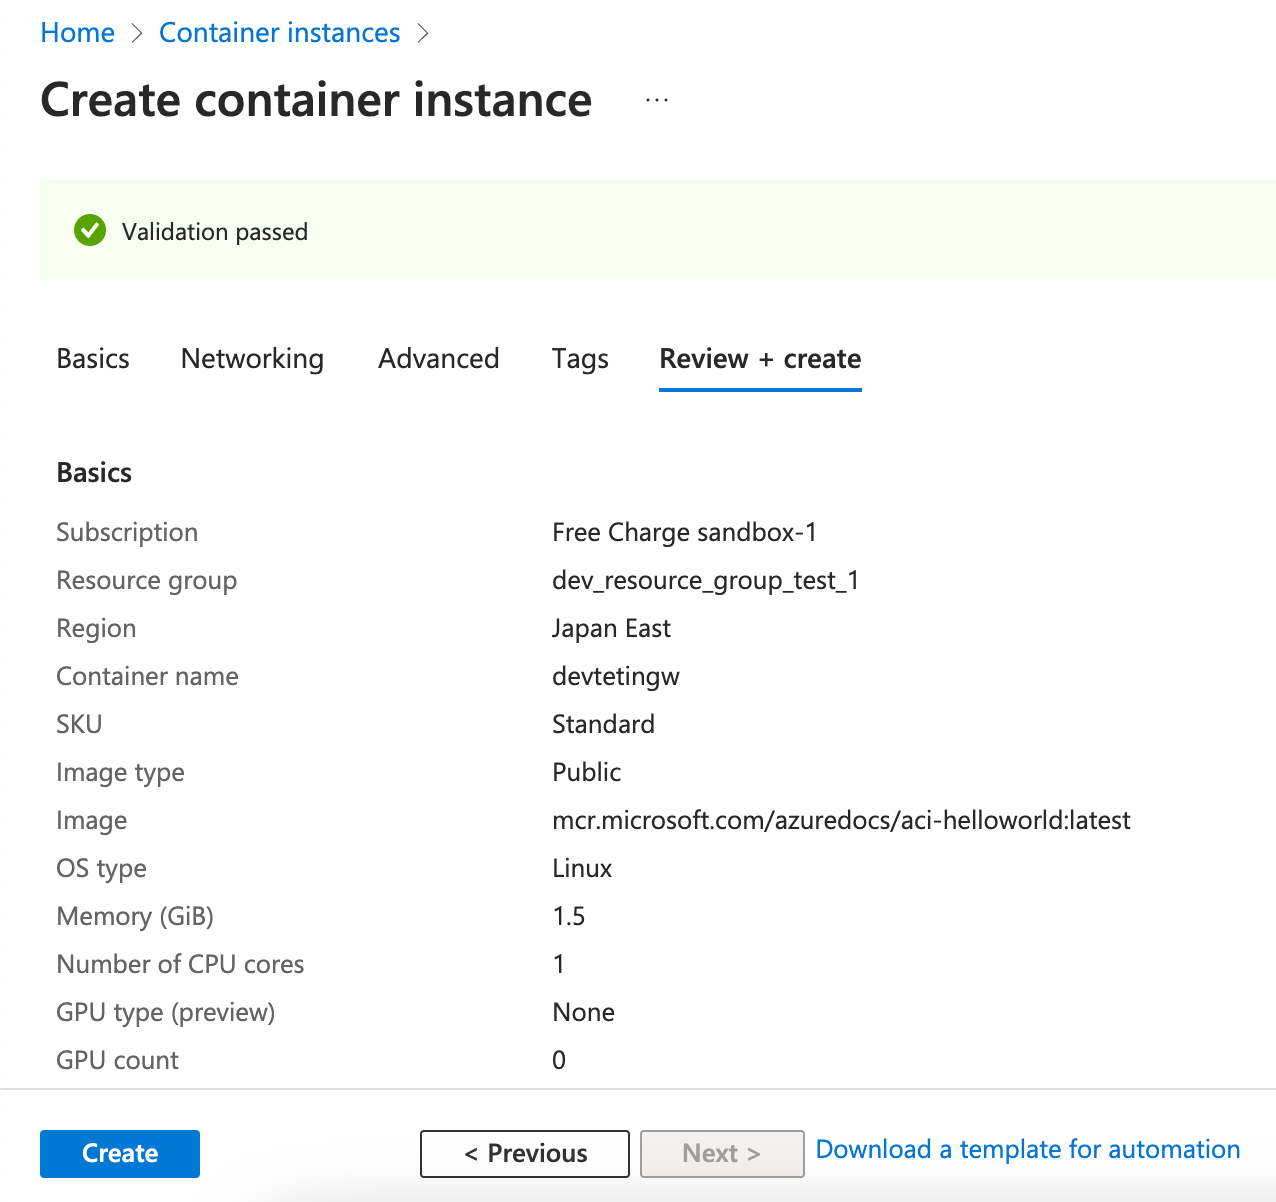
- Define a unique name and choose the region.
- Select CPU and memory resources to match your application's needs.
- Specify network settings, including virtual networks and IP addresses.

- Review your settings and initiate the creation process.
 Accessing and Managing Azure Container Instance:
- Once the Container Instance is created, find it in the Azure Portal.
- Access instance logs, status, and performance metrics for effective monitoring.
- Utilize Azure's monitoring and alerting capabilities for proactive management.
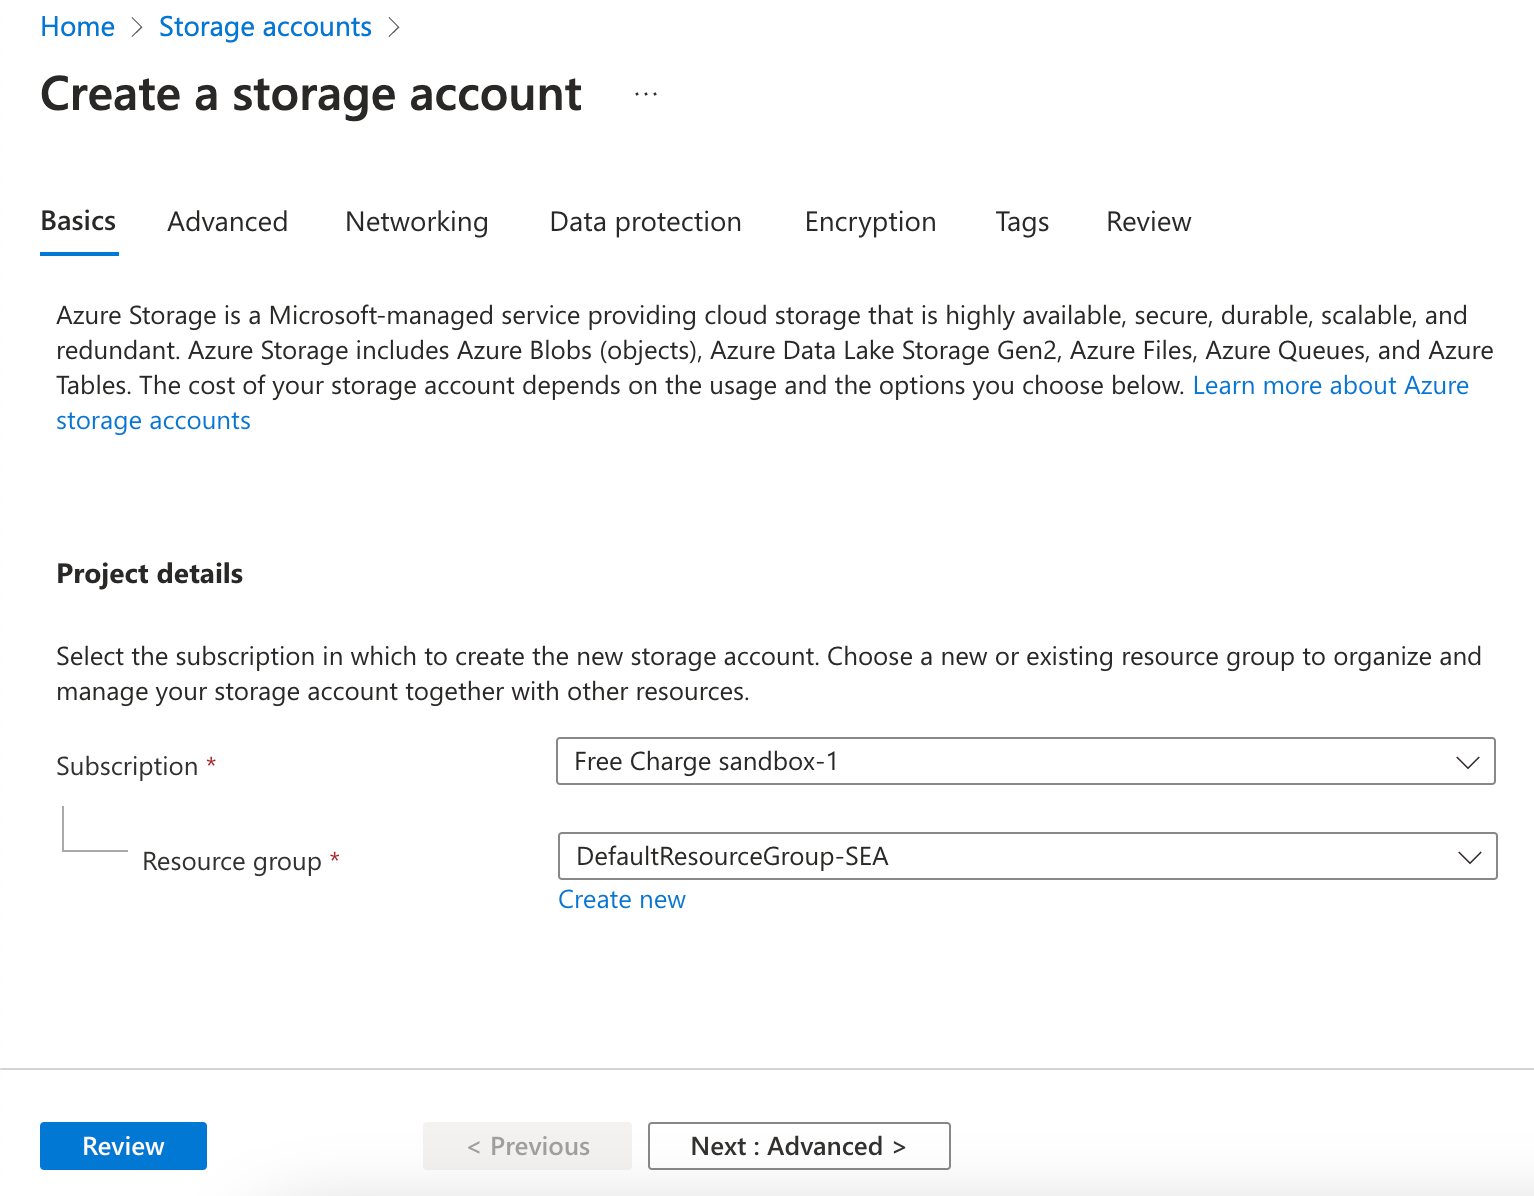
- Click "Create a resource" and search for "Storage account."

- Choose a unique storage account name and select resource group.
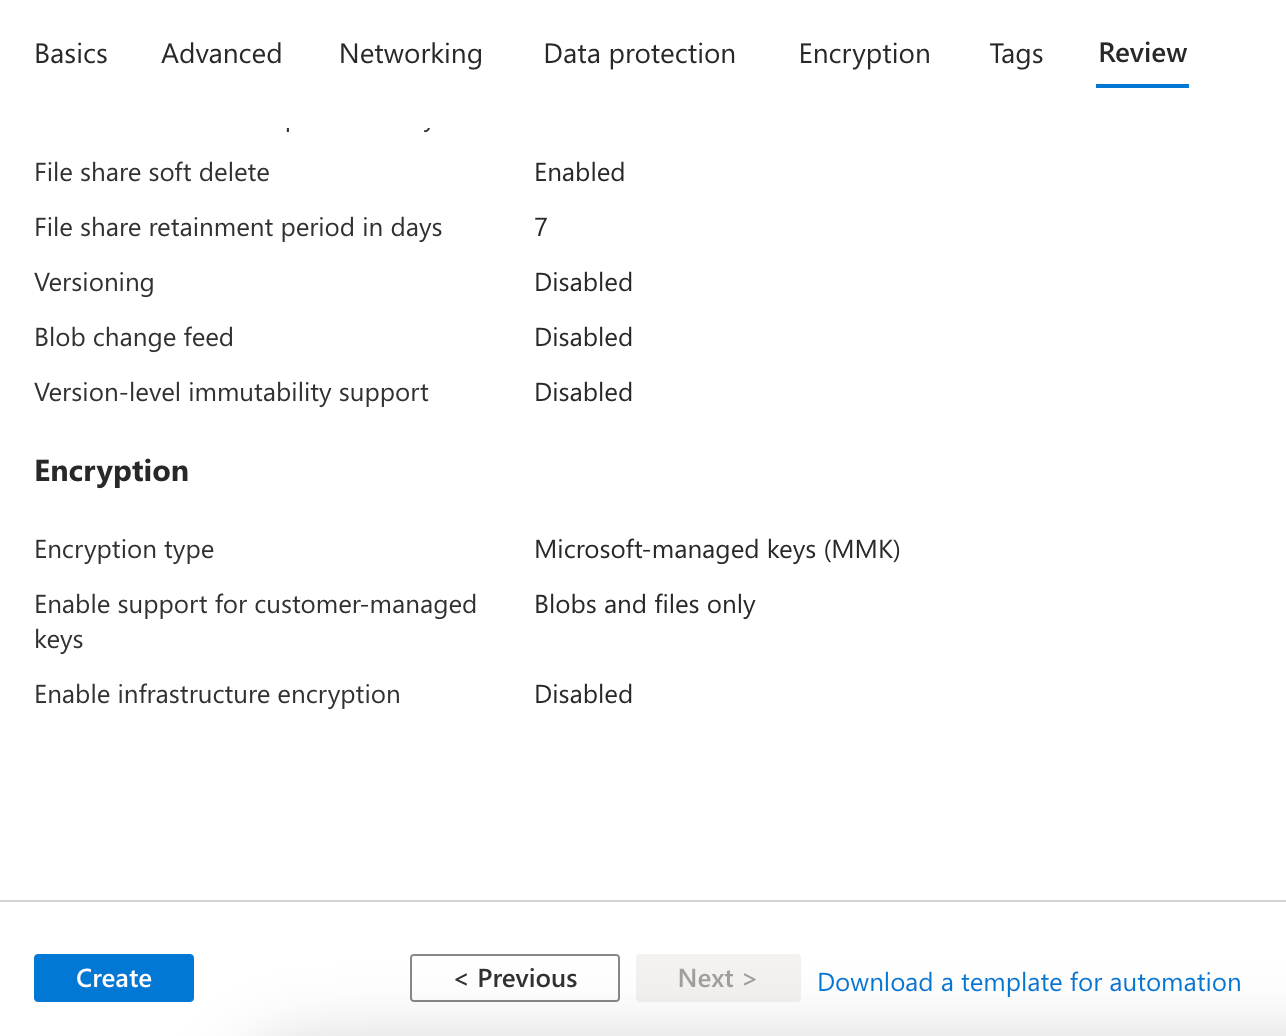
- Choose region, performance, and replication options.

- Configure advanced settings if needed.
- Review and click "Create."
 Access Azure Storage:
- Once the storage account is created, go to its resource page.
- Access keys or connection strings under the "Settings" section.
5. Creating Azure Container Instances and Storage with PrismScaler
Estimated time
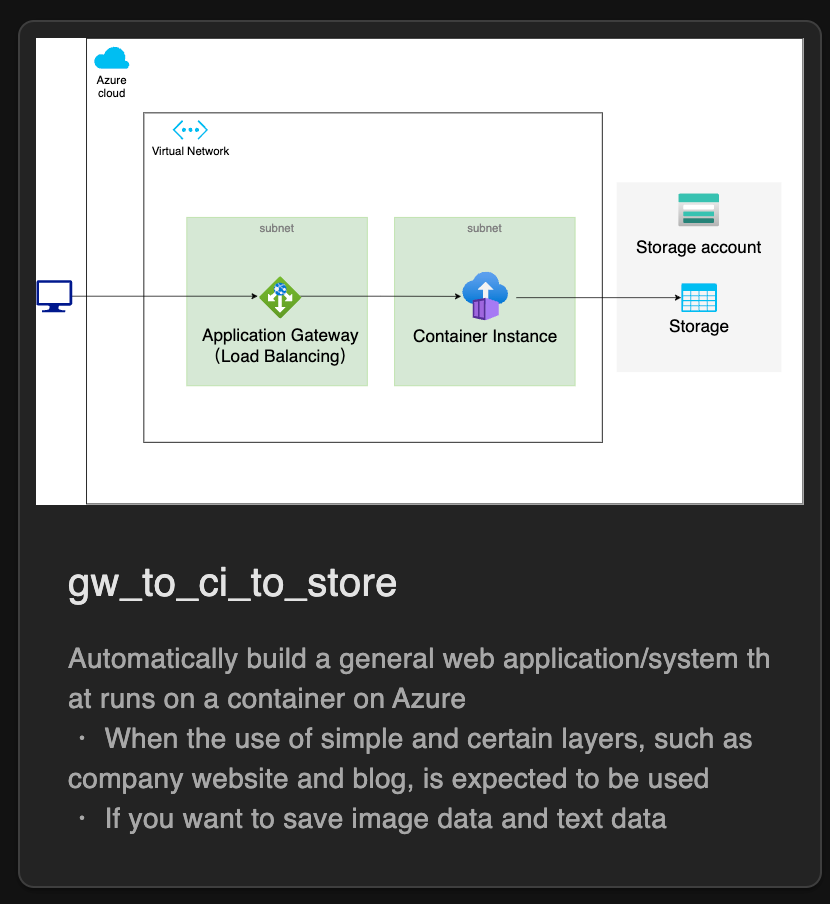
In the age of efficiency, PrismScaler emerges as a beacon of streamlined creation. This section introduces an alternative route to crafting Azure Container Instances and Storage. Designed for simplicity, this method requires a mere 10-20 minutes. PrismScaler is your gateway for swift implementation, even without in-depth DevOps knowledge.
Creating Azure Container Instances and Storage with PrismScaler
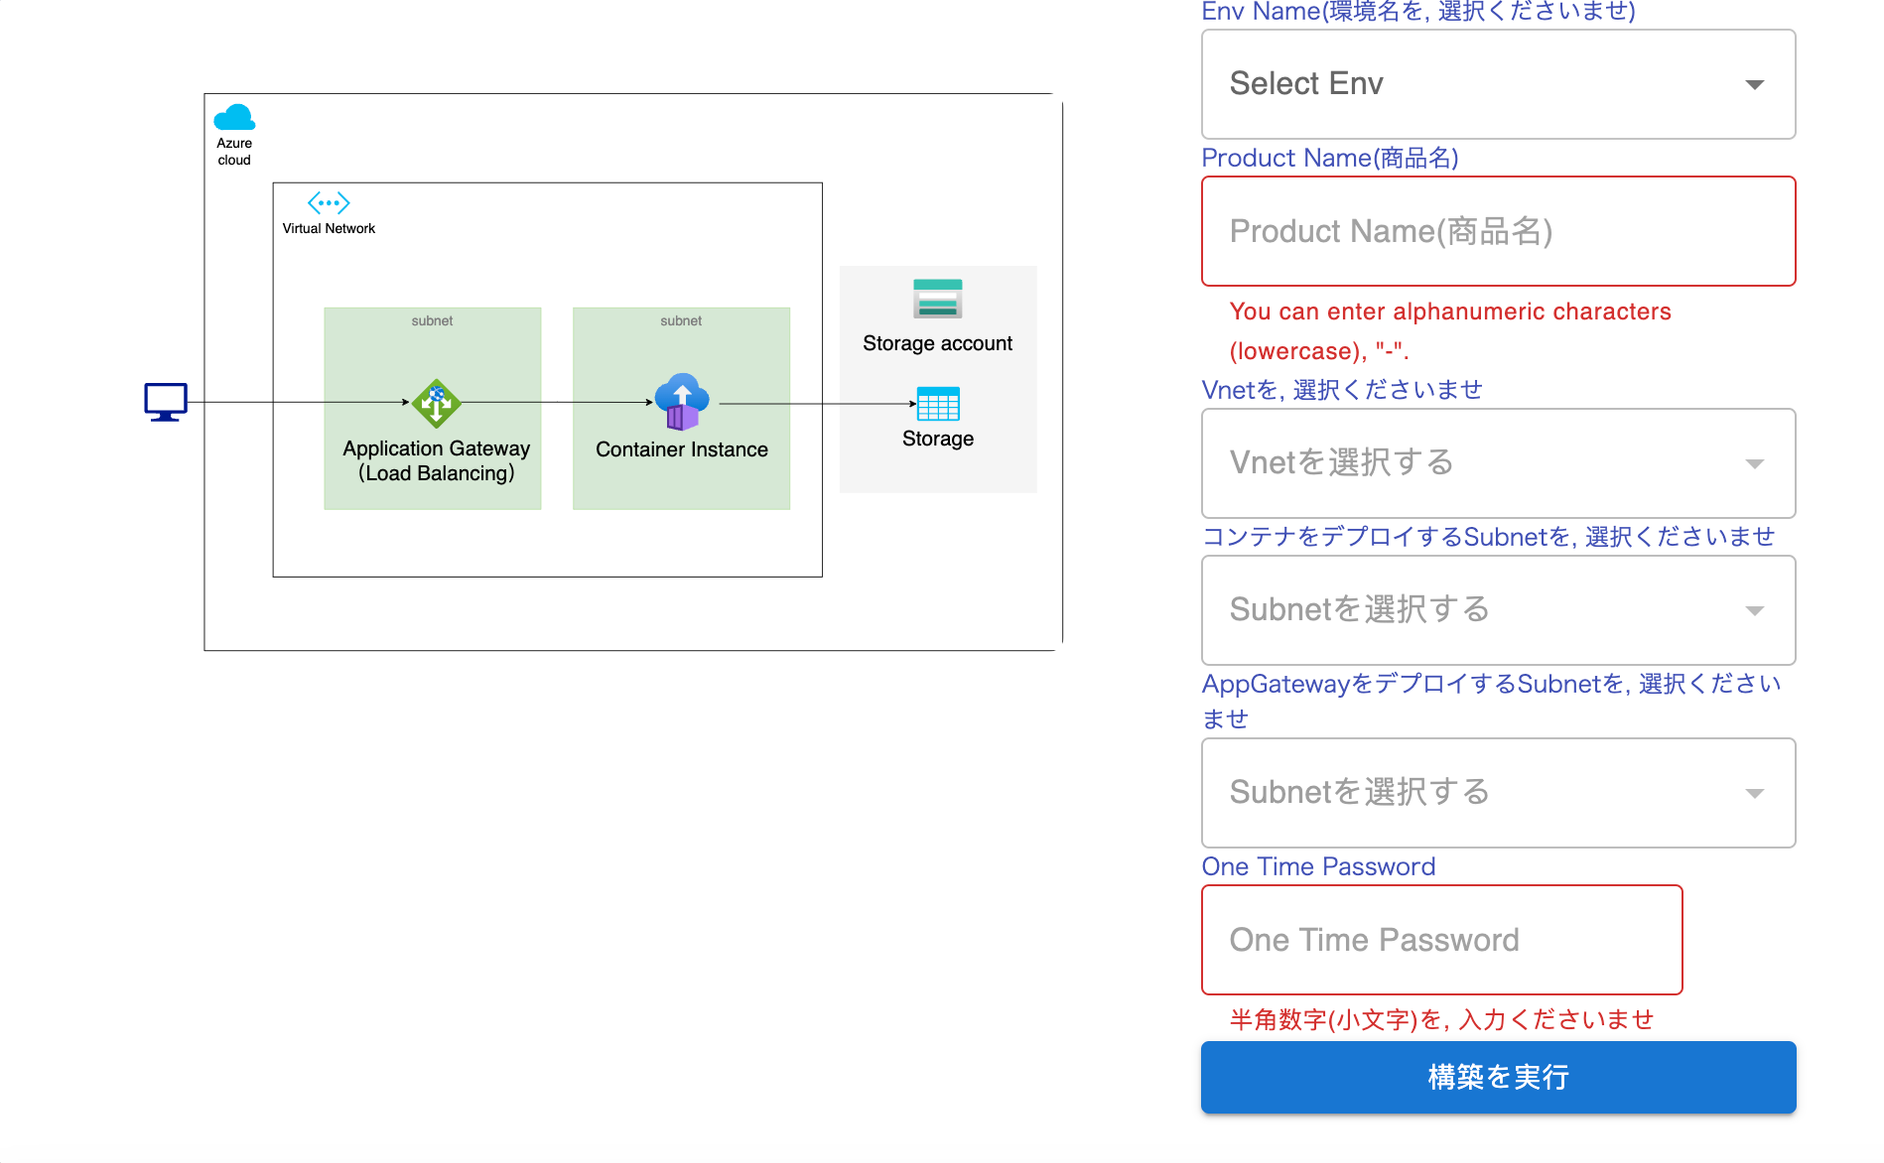
- Login to your prismscaler account
- Choose VM architecture to create

- Input all the necessary info

- Process and wait around 10 mins for the arch to deploy
- Check azure console to complete the architecture.
6. Storage Policy: Navigating Data Management
Azure Container Instances and Storage lay the groundwork for powerful cloud solutions, and within the realm of Storage, Blob Storage emerges as a cornerstone. This section delves into Blob Storage policies, enabling you to tailor data management, replication, and access control to your application's unique requirements.
Understanding Blob Storage Policies
Blob Storage, within Azure Storage, provides a flexible solution for storing unstructured data such as images, videos, and documents. Blob Storage policies act as a set of rules that govern how your data is managed, secured, and accessed. These policies ensure optimal data availability, compliance, and performance, making them crucial tools for architects and developers.
Example: Creating a Blob Storage Policy
Let's say you're managing a media application where users upload images and videos. To ensure data availability, let's set up a Blob Storage policy:
Accessing Azure Portal:
- Log in to Azure Portal
- Click "Create a resource" and search for "Storage account."
- Choose a unique name, resource group, and region.
- Configure performance and replication settings, such as Standard_LRS for redundancy.
- Locate your newly created Storage account.
- Navigate to the "Access control (IAM)" section and click on "Add role assignment."
- Choose the role (e.g., "Storage Blob Data Contributor") and specify the user or group.
- Define the scope (e.g., the specific Blob container).
- Review and confirm the policy settings.
- As users upload images and videos, they'll be stored in the designated Blob container.
- The defined policy ensures that authorized users or groups have the required permissions to access and manage the data.
- You can easily modify or revoke permissions as needed without affecting other parts of your application.
7. Reference
As your journey continues, the reference section becomes your compass, directing you to further exploration. Delve into a carefully curated collection of external resources, official documentation, and insightful blogs. This repository empowers you to dive deeper into Azure's expansive universe, where Container Instances, Storage, and networking configurations converge to fuel innovation.
